Things You'll Need
Picture
Ruler
Razor knife
Poster board, cardboard or mat board
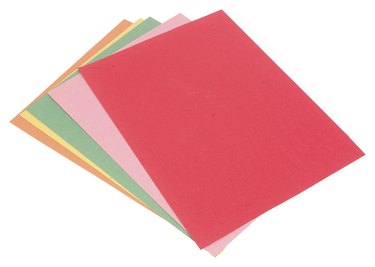
Construction paper
Scissors
Glue
Decorations
Magnet or ribbon
Create customized picture frames with construction paper and a few other craft supplies to give as gifts. These picture frames are inexpensive to make and you can create the frames to coordinate with any picture or room or for any person. Make the frame in whatever shape you would like. These frames are ideal for children to make for their school pictures to give as gifts to family and friends.
Step 1
Lay a piece of cardboard, poster board or mat board on a flat surface. Set the picture you want to frame on the center of the board and trace around the picture with a pencil.
Video of the Day
Step 2
Determine how big you want your frame. If you want a rectangular picture frame, use a ruler and measure 2 inches or more away from the picture line, all the way around. The distance will determine how big your final frame will be. If you want a different shape for the frame, such as a heart, draw the shape on the board around the outline where the picture will be.
Step 3
Cut out the shape drawn on the board using scissors.
Step 4
Place the cut-out board on your chosen color of construction paper. Trace around the board to create the correct shape and size for the construction paper. Cut this piece of construction paper, following the lines you traced.
Step 5
Place the picture on the cut-out construction paper and trace around it. Carefully cut a hole in the construction paper, making the hole at least 1/4 inch smaller than the picture. This piece of construction paper will be the outer frame and should cover up the edges of the picture. Use a ruler and a razor knife to make this step easier.
Step 6
Glue the picture onto the board. Attach the picture with acid-free glue or double-stick tape.
Step 7
Glue the construction-paper frame onto the board. Make sure you center it over the picture and cover the edges of the photo.
Tip
Decorate the frame. Use markers, stickers and embellishments to decorate the frame to reflect any person, theme or idea. Make a hanger for the frame by taping a piece of ribbon or string to the back of the frame so you can hang the frame on a nail. Glue a magnet on the back to display the photo and homemade frame on a metal surface, such as the refrigerator.
Video of the Day