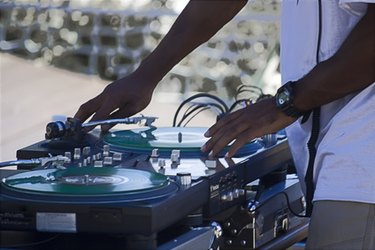
Virtual DJ is a popular digital turntable interface. However, it is also a powerful beat-making tool. You can use Virtual DJ to isolate breaks and samples from longer digital audio files to make beats of your own. Virtual DJ's built-in sampler allows you create your own clips from which you may start a new beat using the audio editing software or beat-making application of your choosing.
Step 1
Load the digital audio file you wish to sample into Virtual DJ. Drag and drop the audio file into a deck player window. Listen to the digital audio file to determine the portion from which you would like to make a selection.
Video of the Day
Step 2
Click the "Sampler" tab in Virtual DJ's bottom-most window to open the sampler.
Step 3
Play the digital audio file. Push the "RECORD" button on the sampler to begin recording your sample. Push "RECORD" again to stop recording the sample.
Step 4
Open the "Sample Options" menu and click "Save" to keep your sample. Make note of the file name and destination folder so that you may use the sample in your audio editing software or beat-making application.
Step 5
Import the sample file into a new track on the audio editing software or beat-making application of your choosing. Click the "Import" on "Insert" option from the "File" tab in your audio editing software or beat-making application's menu bar. Add instrumentation and effects to the sample as desired.
Video of the Day