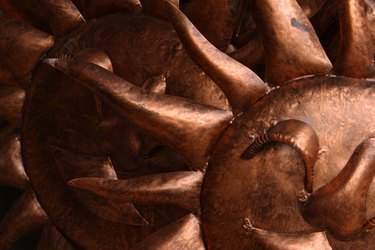
The process of embossing copper is the technique of creating designs in the metal through stamping, piercing, folding or hammering. Copper is a common choice for embossing because it is malleable and not as expensive as other metals, such as gold or silver. The technique of embossing also is also called "tooling" or "repousse" (pronounced rep-o-zay). Sheets of metal with thickness of 5 mil or 36 gauge are most commonly used. Thicker sheets may be used, but they cannot be easily cut with scissors, and require greater force when hammering or stamping.
Preparing the Work Area
Video of the Day
The sheet of copper metal should be cushioned on the work surface before you begin to emboss it. Th cushion may be made with a stack of newspapers, a folded towel, foam, rubber mat or soft wood. The surface absorbs the impression of the metal relief as you work.
Video of the Day
Tools
An embossing stylus is used to trace and imprint the design into the metal. It is similar to an ink pen with a small round ball on the tip. You need a pair of scissors designed to work with metal or a utility knife, depending on the metal's thickness. A mallet or hammer and stamps are used to imprint pre-designed patterns into the copper. The stamps should not have any sharp edges that can pierce through the metal. Tracing paper and markers may be used to transfer the design to the metal for embossing.
Embossing Method
Draw the design for the copper onto a piece of tracing paper. Place the copper metal sheet upon the work surface front-side down. Tape the tracing paper onto the backside of the copper. Firmly rub the embossing stylus along the lines of the drawing, pressing into the metal. If using pre-designed stamps, align the head of the stamp onto the backside of the metal and tamp it down with the mallet using short, straight strokes.
Finishing the Piece
Remove the tracing paper and turn the copper sheet over to the front side. Brush areas of the relief with paint or stain, if desired. To protect the indentations of the design from being flattened again, turn the sheet over and fill the grooves with melted paraffin wax. Let the wax solidify, cut the copper sheet to the appropriate size, and frame the piece for display.