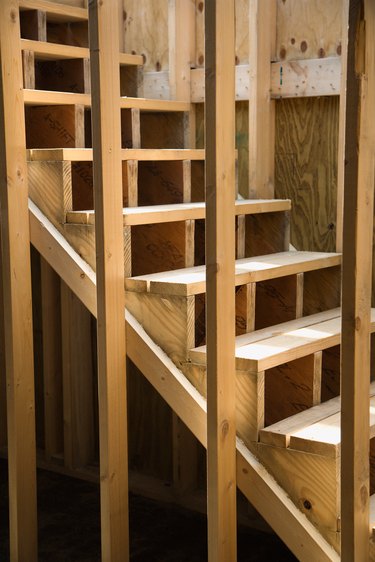
On stairs, the overhanging edge at the front of each tread is called a nose, or nosing. When the nose edge has a rounded profile, it is commonly referred to as a bullnose edge. This tread enhances aesthetic of steps and facilitates climbing them without tripping. Stair treads can be bought with pre-shaped edges, but the bullnose edge can also be made at home on new or existing steps.
Step 1
Determine the finished size and depth of your step treads from front to back of each step. The finished depth of the step treads is measured horizontally from the tip of the bullnose edge to the tip of the bullnose edge of the step above. This depth typically should be a minimum of 10 inches, with the tip of the each bullnose extending between 3/4 inch and 1-1/4 inches from the face of the riser directly below it.
Video of the Day
Step 2
Double-check the size of your wood or existing wooden step tread and adjust the measurements if necessary. It is good to leave around 1/8 inch extra tread depth for wiggle room at the edge to be shaped into the bullnose.
Step 3
Select a bullnose or half-round router bit with a radius equal to or less than half the thickness of the wooden tread.
Step 4
Put on safety goggles before using a router with the selected rounding bit. Use the router along the front edge of the tread to carve it into the desired bullnose shape.
Step 5
Smooth the finished bullnose edge with sandpaper and continue building, finishing or reassembling the stair.
Video of the Day