Things You'll Need
Prototype
Cutting board
Liquid rubber
Oil
Paintbrush
Needle or toothpick
Gauze (optional)

Latex is a material made up of polymer particles suspended in water, used as a main compound in making rubber. Latex rubber is suitable for making molds around objects with many details. It shrinks around the prototype and the details are imprinted on the inside of the mold. Typically, molds made of plaster or resin should be made in two parts. However, the flexibility of the rubber allows you to make a mold in a single piece because the cast figurine can be removed from the mold without damaging it.
Step 1
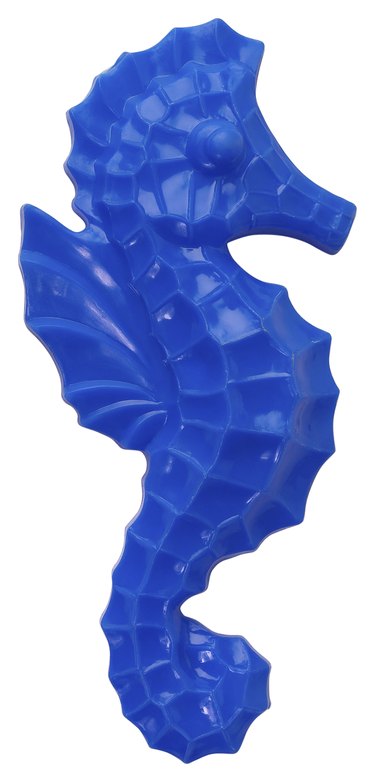
Select your prototype, which is the object you want to duplicate. The object should be made of a solid material so the rubber can be removed after you cast the mold. Remove dust from the object and place it on an even surface such as a cutting board.
Video of the Day
Step 2
Prepare the latex rubber for the mold following the instructions on the product you use. Typically, rubber making kits come with two compounds: the rubber and a catalyst. Mix the rubber with its catalyst. Liquid latex rubber doesn't require any preparation.
Step 3
Test if the rubber sticks to the prototype on a small area. Apply a dot of rubber on the prototype and allow it to harden. If the rubber is easily removable, continue your project. If the rubber seems to stick and is difficult to remove even after it has set, cover the prototype with oil, which prevents the latex rubber from sticking to the figurine you want to duplicate.
Step 4
Apply a thin layer of rubber over the entire prototype except for its bottom. Allow the rubber to set and check for any air bubbles. Use a needle or a toothpick to burst any bubbles you find.
Step 5
Apply a second layer of rubber, which should also be thin. Leave it aside to dry and remove air bubbles.
Step 6
Apply several layers (up to 10) to obtain a sturdy mold, which is at least 1/2 inch thick. To make the mold more resistant, place a piece of gauze over the mold, between your last layers. Allow the mold to harden completely and remove the prototype.
Tip
If you want to speed up the hardening of the rubber, use a hair dryer. Spread cornstarch or talc on your mold before you cast any material in it so you can remove the figurine more easily. You can cast clay, liquid polymer clay, plaster, resin, wax and low-temperature metals in latex rubber molds.
Video of the Day