Things You'll Need
Tractor
Wheel Rake
Hayfield
Tedder (optional)
One or two days after mowing your hay field you will need to rake the hay so it can continue to dry. The hay on top of the windrow has dried. The rake will turn the windrow over so that the hay that was on the bottom can dry. You need to wait until the morning dew has dried off from the top of the hay before you rake it. Be sure the hay is dry enough to bale a few hours after raking. If it is not drying as fast as you need it to, use your tedder on it before raking.
Step 1
Set the width of the rake. For example, a twelve wheel rake will rake three windrows left by a nine-foot haybine. If the hay is not heavy and is quite dry you may want to rake three windrows together. However, if the hay is heavy or tough only rake two windrows together.
Video of the Day
Step 2
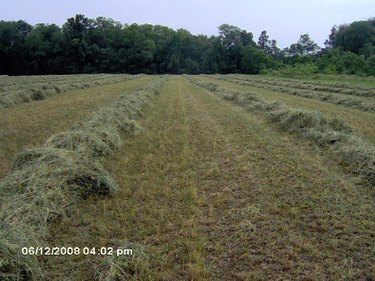
Drive to the end of the field and choose two or three of the straight rows. To begin, drop the rake down early enough to pick up the beginning of the row. Do not worry about disturbing some of the head rows; you will fix them later.
Step 3
Wait and rake the headland rows last with this style of wheel rake. Shaded areas may take longer to dry so do not begin in the shade, either.
Step 4
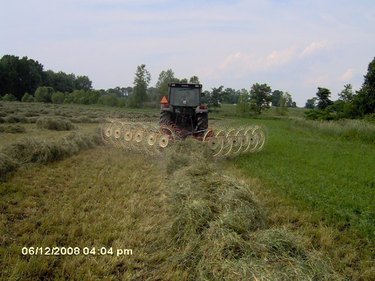
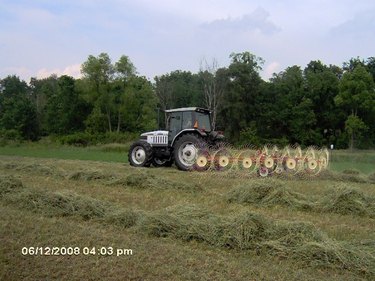
Drive the tractor down the row. Watch the front of the rake to ensure you are picking up all of the windrow. Be sure the hay is flowing out the back, not plugging up the rake. Be sure you are not making two separate rows instead of one. Your row should be fluffy, not smashed together, to allow for optimum drying. Stop to make adjustments if necessary.
Step 5
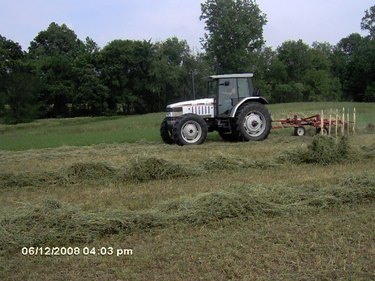
When you arrive at the end of your row, raise the rake as you turn around. Skip three rows for ease of turning and maneuvering your tractor and rake. Lower the rake as you approach the next rows you will rake. Do not worry about messing up the headlands. When you are finished with the center rows you will rake the headlands and straighten them back out.
Step 6
When you have finished all of your straight rows, you will rake around the perimeter headland rows. It should form a slight spiral as you circle around the field so you do not have to stop and restart. This will help when pulling the baler as well.
Tip
If your tractor has a float on the SCV valve, hook the rake to it. When you drop the rake push the SCV lever past the detent, so the rake arms will float up and down. Wet hay can be sealed in plastic forage saver bags to make haylage and be fed to cows.
Warning
Do not feed horses moldy hay.
Video of the Day