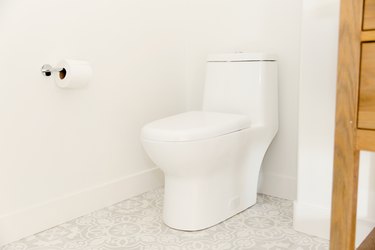
Kohler toilets use two types of float systems to regulate the water in your toilet tank. One is the standard plastic ball on a long copper arm, the other is an all-in-one design called a Fluidmaster that incorporates both the toilet float and the fill valve in one unit. Although they work exactly the same, they are completely different designs and need to be addressed separately when troubleshooting a problem with either of them.
Before You Begin
Video of the Day
Any of these toilet parts are available at virtually any hardware store, and if you are unsure of what to get, remove the old one first and take it in to match it up. Also, as a warning, if you remove any toilet parts, always remember to turn off the main water feed valve to the toilet.
Video of the Day
There are two types of toilet tank floats. The older types were made of a plastic ball attached to a metal rod. Some of the toilets that date back decades were made of brass, copper, and even glass. The intake opens and closes using a lever with the float attached to it. As water rises in the tank, the float rises with it. Once it hits a set level, the water supply shuts off.
Newer tank floats move up and down along a vertical pipe, and this system is known as a Fluidmaster. There's an adjustment rod on the side, and sometimes, it needs to be adjusted to regulate the amount of water in the tank.
Standard Ball Float
Remove the lid on your tank. Then check to see if the float is actually floating. If it is and the toilet won't stop running, you can adjust the ball float.
Grab the float arm in both of your hands and bend it downwards slightly. This action will cause the float to go deeper into the water and therefore, come up faster, shutting off the water supply sooner.
Check to see if the float is partially or fully submerged in the water. If it is, the float is cracked or has a hole in it and it cannot be adjusted, It needs to be replaced. The actual float itself unscrews and can be taken into a hardware store to match up with a new one that can be screwed back on.
Fluidmaster Toilet Float
Remove the lid on your tank. Then locate the Fluidmaster float, which will be integrated with the fill valve, usually on the left side of the toilet. It should bob up and down in the water of the toilet tank.
Constantly running water means the float needs to be adjusted. There will be a Phillips screw on top of the unit that can be adjusted by turning it with a Phillips screwdriver. Turn the screw clockwise and the float will be pushed deeper into the water. When that happens, just like a standard float, the running water will turn off sooner.
If there is not enough water coming into the tank, you can turn the screw the opposite way which will cause the float to sit higher and allow more water in. If the float cannot be adjusted, or it sinks to the bottom of the toilet, either the mechanism is broken or the float is cracked, and will need to be replaced.
