Things You'll Need
Chisel
Hammer
Scraper with long handle
Grinder
Glue and adhesive remover
Construction plastic
Knee pads
Safety glasses
Gloves
Adhesive remover

Parquet flooring was once only available to the very wealthy home owner and has been in use for hundreds of years. With advances in manufacturing, parquet became very popular and affordable. It was used extensively in homes built in the 1940's and 1950's. Parquet has fallen out of favor with a lot of today's homeowners and is being removed and replaced with other types of flooring. The process to remove this type of flooring will be covered here.
Step 1
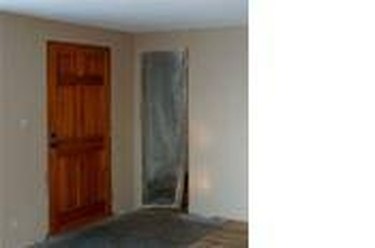
Remove all furnishings out of the room. Cover doorways with plastic to confine dust and dirt. Remove baseboards to avoid damaging.
Video of the Day
Step 2

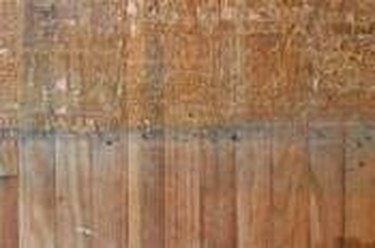
Start at the edge of the parquet floor, usually a doorway. Use the hammer and chisel to lift a few of the parquet tiles to get a larger area to begin removal. Hold the chisel at a low angle to the floor and tap the handle of the chisel with the hammer. Pry and pop the parquet tiles up. Depending upon the type of adhesive used, the parquet may splinter and come off the sub floor in small pieces. Wear safety glasses to protect your eyes.
Step 3
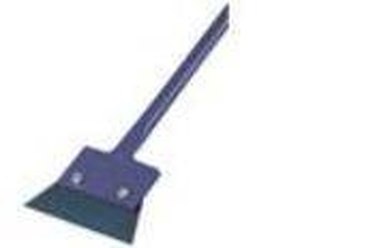
Use the long handled scraper to continue removing the parquet. This scraper is similar to the scraper used to remove ice from driveways and sidewalks. Slide the scraper under the parquet and pry upward by pushing down on the handle after it is partially under the parquet. Wear gloves to protect hands from blisters. Work carefully to avoid damaging the sub floor.
Step 4
Clean all debris off the floor and vacuum thoroughly. Apply a coating of glue and adhesive remover in an even coat using an old paint brush. Allow the remover to set on the floor for time recommended by manufacturer. Scrape up and discard. Some stubborn patches of glue may require a second application.
Step 5
Clean any remaining adhesive remover from the floor using water or cleaner as recommended by the manufacturer. Allow to dry thoroughly before installing new flooring.
Tip
This process can be slow and time consuming.
Warning
Allow adequate ventilation when using the adhesive remover.
Video of the Day