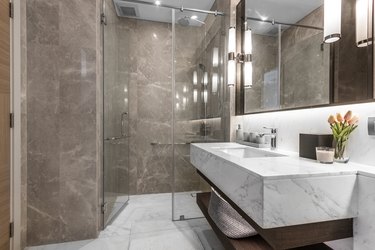
A proper shower enclosure has some advantages over a standard tub/shower combination — mainly in the fact that a shower enclosure takes up less space, allowing square footage in the bathroom to be used for something else. There are several premade materials available to make building a shower enclosure a fairly straightforward project for a homeowner with some experience.
Preparing the Shower Enclosure
Video of the Day
The first thing you'll want to do is prepare the space for the shower enclosure. If replacing an old bathtub or shower, you'll need to remove everything, starting with wall studs and the subfloor. Measure the space for the new shower enclosure and ensure proper support is available.
Video of the Day
If it's not, install 2 x 4 studs as needed to build the support floor and framing for the walls. Be sure to mark out where the plumbing will need to be; you want to avoid having to drill holes near pipes that could damage the existing plumbing.
Home Depot recommends that you use a level to verify that the subfloor is completely flat. If it's not, you'll run into issues with your shower's drainage. You should also prepare your safety gear at this time, and be sure to use eye protection during any construction tasks.
Installing the Shower Liner
Next, Home Depot suggests that you dry fit the shower liner to make sure it will fit the desired space. Lay down your choice of plastic liner or base and mark where it fits. Follow the instructions for your chosen base to install it. Sometimes, this will involve stapling the liner to the back wall to keep it in place.
Other models come with wall panels that you'll lock into the base before securing them to the walls. There are a lot of handy prefabricated options available at local hardware stores.
Plumbing Installation for Showers
Mark and drill holes for the plumbing. Be sure to use the proper type of drill based on the material of the liner and wall panels. Install the drain assembly in place.
Depending on your model, you may want to caulk and seal the drain assembly now; check the design to confirm.
Concrete for the Base
If pouring concrete for the shower base, be sure to use material around the drain assembly that will keep it open, and use a quarter inch of slope per foot of space to ensure proper drainage in the base. Some models come pre-sloped and may only require a few mounds of bricklayer's mortar underneath the shower base to support the edges and keep it level.
Again, check with the manufacturer's instructions to be sure the shower base is properly installed. If using a ready shower base model, attach the model to the studs using roofing nails.
Installing the Remaining Walls
Once the base is in place, insert and attach the remaining panels or walls. Again, some prefab models will have panels that fit into the base and can be easily attached to the framing. Attach and secure according to the directions, and caulk and seal once everything is in place. Be sure to properly align the openings for the plumbing, faucets and drain.
Backer Board and Finishing Up
If working from scratch, cut backer board to the proper size and attach it to the framing. Be sure to leave space for the required plumbing. Once everything is in place, lay down the tile starting with the floor. In this case, the tile and sealant are what will ensure the shower enclosure is waterproof.
Once the shower enclosure is completed and everything is dry, attach the desired fixtures and a shower door if it's in the design.