Things You'll Need
Measuring tape
Pencil
Laminate flooring planks
Sawhorses
Circular saw
Electric hand sander
Fine grit sandpaper
Pull bar
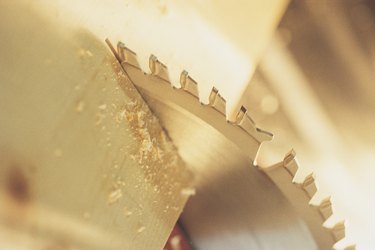
Installing laminate flooring takes a few days to accomplish. The most difficult part of the installation often happens with the last row because the last row of laminate flooring usually needs to be ripped to size. Ripping is another word for cutting laminate flooring lengthwise instead of widthwise. A circular saw can help you cut this row to size quickly and efficiently.
Step 1
Measure the space between the last installed row of laminate flooring and the wall. Subtract a quarter of an inch from this measurement for the expansion gap.
Video of the Day
Step 2
Mark the measurements on the front of the laminate flooring planks with a pencil. Place the marked planks on two sawhorses.
Step 3
Rip the laminate flooring to size with the circular saw. The planks should be face up while cutting with the circular saw. This will help you to avoid chipping the laminate surface with the saw blade.
Step 4
Set the laminate flooring in place to see whether it fits the space. If the planks do not fit, trim off more from the laminate planks with the saw. For slight trimming, use an electric hand sander fit with fine grit sandpaper. Gently sand the edge of the laminate plank until it fits in place.
Step 5
Install the ripped planks on the floor. Set the planks in place and snap them together with a pull bar.
Video of the Day