Things You'll Need
5 foot bamboo stick
Several 2.5 foot bamboo sticks
String
Fabric
Feathers
Glue
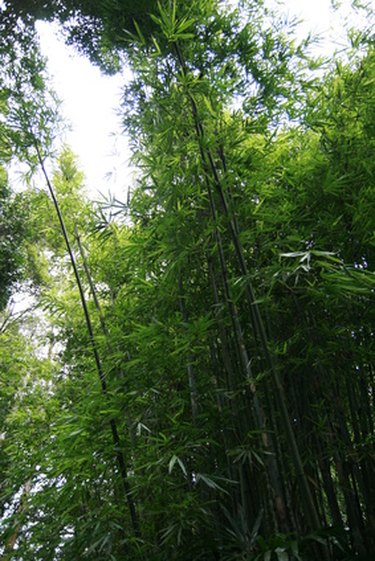
Bamboo bows and arrows are the most common weapon for jungle tribes. They are simple to make and extremely effective hunting weapons. They do not provide the same power that a typical European longbow or Asian recurve bow might, but this is compensated for in the extremely short amount of time it takes to make one. You can easily make one of these in no more than a few hours. All you need is bamboo and a few other very basic materials.
Step 1
Mark out a four inch handle right in the centre of the five foot bamboo piece. This will need to be reinforced to prevent the bow from snapping. Simply tie four inch bamboo pieces to the handle area. Wrap these tightly in fabric to give it both further support and grip for holding. This will provide all the necessary reinforcement for the central part of the bow so it does not break.
Video of the Day
Step 2
Cut notches at each end of the bow. Now string the bow. The string should be shorter than the length of the bow so aim for 4.5 feet of string. This will cause the limbs of the bow to bend slightly which is what gives the bow its power.
Step 3
Make the arrow tips using the 2.5 foot bamboo pieces. Carve the tip into a point and then burn it slightly in a fire to harden the. This is the method used by many indigenous Asian tribes. You can of course also buy arrow heads online or in a hunting supply store and attach them too.
Step 4
Fletch the arrows. This is the process of putting feathers on the back end of the arrow. You can either use real or synthetic feathers or even paper for this purpose. Cut the feather down the central spine. Glue the spine to the arrow so that the feather stands upright. This provides the arrow with balance while airborne and will prevent it from swaying to heavily mid-air.
Tip
Try to acquire young and flexible bamboo as the older thicker ones tend to be less flexible. Bamboo with a diameter of 0.5-inches will make a strong, flexible bow.
Video of the Day