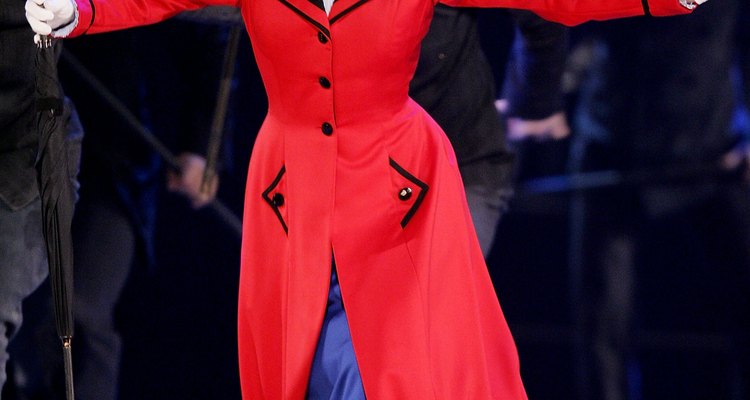
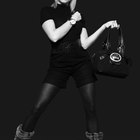
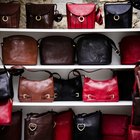
In the Disney movie, “Mary Poppins,” the magical nanny carries a simple carpet bag that miraculously holds everything she needs to furnish her room, including a bed, a coat rack and a mirror. Today, a “Mary Poppins” bag refers to a large bag that can carry almost everything a girl could possibly need. Grab a pair of XXL jeans from your local thrift shop and make your own oversize, stylish bag.
Lay the jeans out in front of you flat and face up.
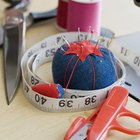
Measure from the bottom hem to the knees on both legs and draw a line across. This will be the width of your bag.
Cut off the jeans on the line you drew across the knees and remove the inseams and hems. Leave the side seams in place. These are the front and back pieces of your bag.
Lay the front and back pieces out flat with the side seam now running across the width of the bag. Measure the height of one of these pieces for the side pieces.
Use the ruler to draw two strips on the front of the left leg. Do this by drawing a block the width of the leg minus the seams and divide the block in half to make two handles. The length should be from where you cut the knees off to the crotch. These will be the handles for your bag.
Draw two triangle shapes on the front of the right leg. The triangles needs to be the same height as the front and back pieces of your bag and about three-quarters as wide as the leg. The tip should not be pointy but slightly rounded. Cut out the triangles, be sure to only cut through one layer of fabric.
Draw a a strip on the back of the left leg that is as long as the width of the front and back pieces and about one-quarter the size of the pant leg width. This will be the bottom of the bag. Cut out the strip.
Cut one of the back pockets off the jeans leaving a fair amount of fabric to turn under for a finished edge.
Cut off the waist band and remove the belt loops and button.
Center the pocket on the bag's front piece, tuck the raw edges under and pin in place. Top stitch the pocked onto the fabric.
Position a button to the right and left of the pocket and sew in place. Once the bag is constructed, you will be wrapping the waistband around the bag and buttoning it on the buttons.
Pin the side pieces to the front and back pieces right sides together and sew. Double-stitch for durability.
Pin the bottom strip to the front, sides and back, right sides together and sew together. Double-stitch for durability. Turn the bag right side out, you now have the base of your bag.
Hook the original button hole from the waistband onto one of the buttons, wrap the band around the bag and cut a slit in the end for the other button to fit through. Cut off any excess fabric from the band and secure the end onto the other button. Whip stitch around the button hole cut end to avoid fraying if you choose.
Fold the edges over on the handle strips for finished edges. Be sure to fold over the same amount so the width of the bands will be the same. Stitch the folded edge down.
Position the handles on the bag and hand-stitch to the inside of the bag. Make sure they are positioned evenly before sewing.
Wrap ribbon around the ends of each handle where they meet the bag and top stitch to secure.
Related Articles
How to Make a Satchel
How to Make a Carpet Bag Purse
How to Make Bean Bags for Bean Bag Toss

How to Get Scratches Out of a Beijo ...
How Are Handbags Made?

How to Make a Bridal Money Bag
How to Make a Men's Waistcoat
Types of Bag Handles

How to Cook Chuck Roast in a Baking Bag

How to Make a Shirt Out of a Trashbag
How to Roast a Whole Chicken in a ...
How to Install a Zipper on the Side of ...
How to Make Fleece Gloves
How to Clean a Leather Hobo Bag

How to Line a Leather Clutch Purse

Calories in a Bag of Chocolate Chips

How to Clean a Peacoat

How to Put an Elastic Band in Pajama ...
How to Make a Women's Fleece Wrap
How to Make a Lined Jean Purse
References
- "99 Ways to Cut, Sew & Deck Out Your Denim"; Faith Blakenney, Justina Blakeney & Ellen Schultz; 2007
- Mary Poppins
Writer Bio
Amy Lyn has more than 20 years of experience in marketing and development. She has worked with nonprofit, arts, education and technology organizations. Lyn holds a B.A. in journalism from the University of Massachusetts.
Photo Credits
Bryan Bedder/Getty Images Entertainment/Getty Images