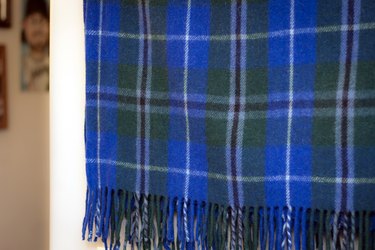
Blankets offer a cozy way to cuddle up for movie night, but they can also make a beautiful decorative display on your wall. While you could hang the blanket with tacks or staples, both methods may stretch the piece, or it may look, well, tacky. Copy one of the ways quilt artists and collectors hang their favorite pieces on the wall; in most cases, the large wall art can be removed for cleaning without additional damage to either the blanket or the wall.
Hook-and-Loop Tape Attachment
Video of the Day
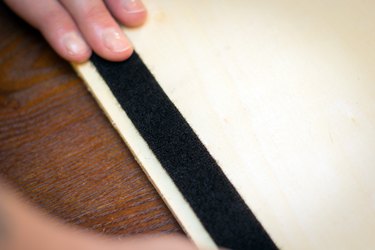
A thick, high-quality hook-and-loop tape with sticky backing serves as a removable means of hanging a blanket on the wall. A thin strip of wood 1 to 2 inches tall and the same width or slightly narrower than the blanket is the support for the hanging blanket. You can attach it with these steps:
Video of the Day
- Attach the strip of wood to the wall at the desired blanket height, securing it to wall studs, or use wall anchors.
- Attach the scratchier side of the hook-and-loop tape to the wood strip; add a staple or two at each end and in the middle for added support in case the adhesive backing becomes less sticky.
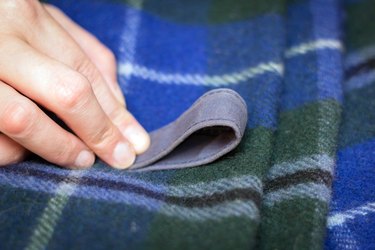
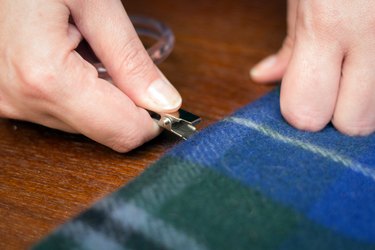
- Stitch the softer side of the hook-and loop-tape to the top back edge of the blanket; if the blanket doesn't seem sturdy enough on its own, add a cotton strip slightly wider than the hook-and-loop tape to the blanket first.
- Press the blanket's side of the hook-and-loop tape against the strip on the wall.
Time for Tab-Tops
Give the blanket a tab-top treatment similar to some curtain panels, attaching the tabs slightly lower than the top of the blanket so they aren't very visible, unless you want them to be seen. Make each tab from durable fabric such as canvas. To finish this method, you need to:
- Cut the tabs 2 inches wide and at least 6 inches long so they can be folded over to create a tab pocket.
- Stitch the tabs onto the blanket back every 2 feet or so for the best support. This works best on a sturdy blanket that can handle the strain.
- Place a long, narrow curtain rod or dowel through the tabs.
- Add rod holders to wall studs to support the rod.
Tip
A sleeve stitched all the way across the back top edge of the blanket instead of tabs offers additional support for a large or heavy blanket.
Clip-on Curtain Rings
Curtain ring clips offer a way to hang a blanket with no sewing required, and the blanket is completely undamaged so you can wash or easily reuse it. Attach curtain ring clips to the top edge of the blanket every 1 to 2 feet, depending on the weight of the blanket and the strength of the clips. Slide the rings over a curtain rod. Hang the rod from curtain rod holders attached to studs on the blank wall at the desired height.
Tip
Choose clips designed for heavy drapes rather than cafe curtains for best results.
Frame Your Blanket
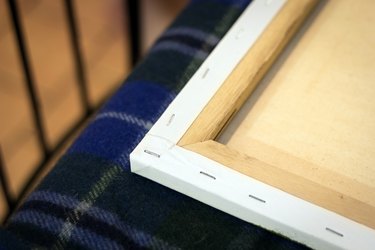
A blank art canvas can be used to secure the blanket to the wall so it displays like a piece of art. Purchase a canvas or canvas frame slightly smaller than the blanket if you don't mind wrapping the blanket a bit around the edges or slightly larger if you wish to display the full blanket.
Wrap the blanket around the small canvas so the area you wish to display is centered on the canvas. Staple or tack the blanket along the back inside edge of the frame. For a larger canvas, stitch the blanket onto the canvas near the perimeter of the blanket.
Hang the canvas on parallel nails attached to wall studs or wall anchors. This works best for smaller, lightweight blankets; a large canvas may be a bit overwhelming on a wall in a small room.