

Nerve pain in the little finger can be caused by inflammation in one of the finger's joints. However, the nerve pain may stem from inflammation in another joint, such as the elbow. According to the article "Nerve Pain" by Painclinic.org, one symptom of ulnar neuritis (elbow nerve pain) is "pain and tingling in the elbow and down the inside of the forearm to the little finger." Thus, a person may need to treat inflammation in the finger and the elbow. Treatments usually include a combination of rest, ice, heat, medication and exercise.
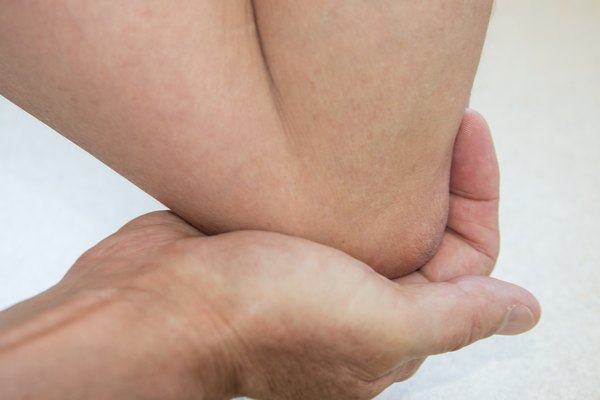
Determine if your little finger nerve pain is caused by inflammation in another area such as the elbow. See a doctor if you need confirmation. Rest your arm and fingers for a few days and avoid any athletic activities.
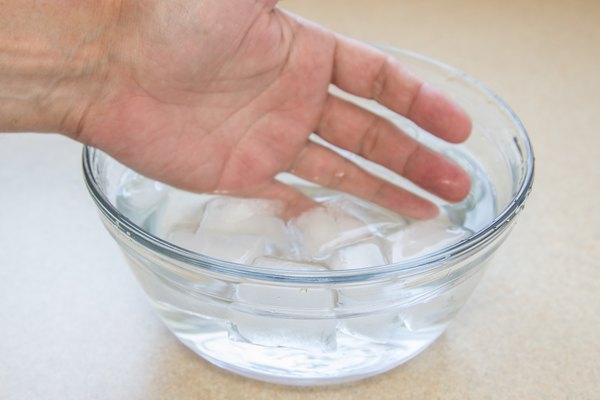
Put ice in a large bowl or pot of cold water. Place your finger in the ice for 15 to 20 minutes. Next, if you suspect that your elbow is causing little finger nerve pain, put ice in an ice pack or hand towel. Strap or tie the ice pack or hand towel (use bath towel for tying) around your elbow. Make sure the ice is compressed directly against the source of pain. Leave the ice in place for 15 to 20 minutes. Repeat both procedures every 3 to 4 hours throughout the day. Continue ice therapy until most of the initial inflammation and pain have subsided.
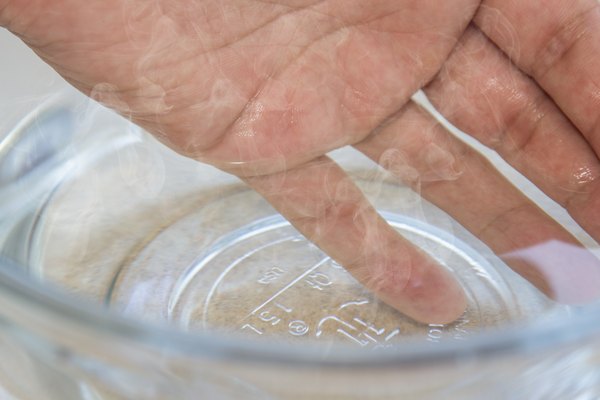
Run some very warm water in a large bowl or pot. Put your finger in the bowl or pot for 15 to 20 minutes. Next, use a heating pad on your elbow for 15 to 20 minutes. Repeat both procedures two to three times daily until nerve pain is gone.
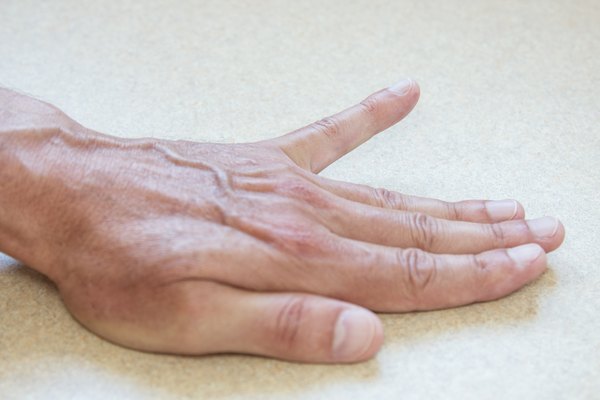
Once the inflammation and swelling have been reduced, perform the following exercises for your little finger and elbow: With your fingers together and extended, slowly bend all fingers down so that the tips of the finger are touching the upper palm of your hand. Hold that position for 15 to 30 seconds, then relax. Do 10 repetitions. Next, place your hand on a flat surface. Starting with your little finger, and keeping your palm flat on the table or surface, raise each of your four fingers up separately and hold that position for 15 to 30 seconds. Do 10 repetitions.
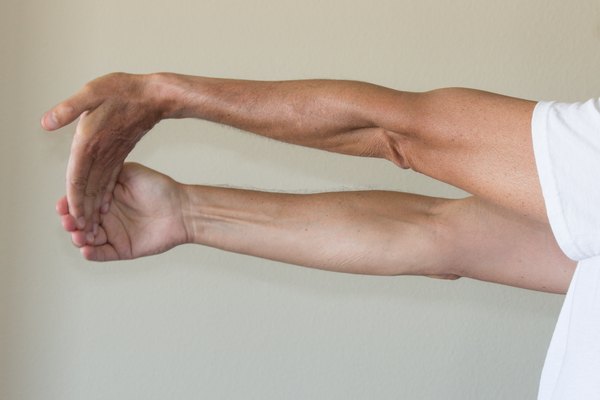
Finally, hold your arm straight out in front of you and bend your wrist so that your fingers are pointing downward. Take your free hand and pull back on your fingers while keeping your elbows straight. Hold this movement for 20 to 30 seconds, then relax. Perform this last exercise twice per day.
Tip
If you know that your elbow is causing nerve pain in your finger, you might be able to treat just your elbow symptoms. If in doubt, continue treating both with ice and ibuprofen. Ice will help reduce your most severe inflammation and swelling (by restricting blood flow). Heat will then promote blood flow to your little finger and elbow. Stretching will help relieve tension on the nerve.
Tip
-
Never do any rehabilitation exercises before the initial inflammation and swelling are reduced. This could worsen your pain and injury.