Microsoft removed the ability to scan images directly into a Word 2013 document, but you can insert images from the local hard drive or images from online sources using Bing Image Search. Although Word can use a wide range of image formats, the JPG and PNG formats give the best trade-off between quality and size. You can insert large images into Word documents and then resize them; keep in mind, however, that large images increase the file size of the document.
Step 1
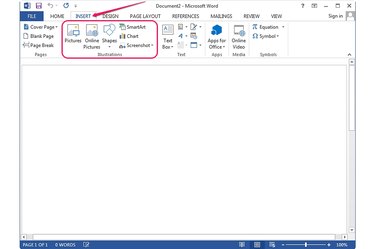
Open a new document in Word 2013 and switch to the Insert tab. All objects that you can insert into a Word document, including images and shapes, are located on the Insert tab.
Video of the Day
Step 2
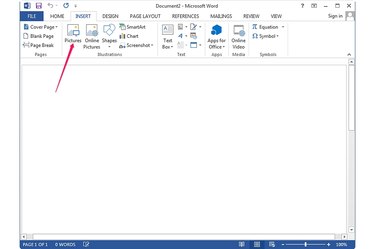
Click on the spot where you want to place the image and then click the Pictures button in the Illustrations group to display the Insert Picture dialog.
Step 3
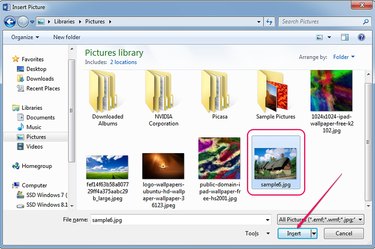
Select the image you want to insert into the Word document. To insert several images, hold Ctrl and select each item. Click Insert.
Step 4
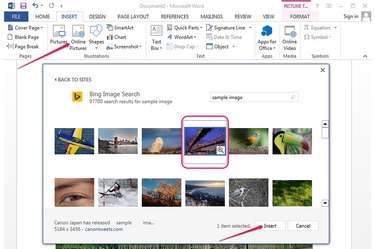
To insert an image from the Web, select the Insert tab and click the Online Pictures button in the Illustrations group.
Type the search string into the Bing search field and press Enter. Select the image you wish to insert and click Insert to add it to the document.
Step 5
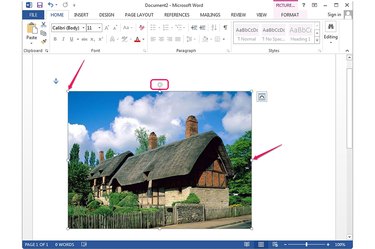
To resize the image, select it -- the Format tab displays near the top of the window -- and then use the resize handles in the corners and on the four sides of the image.
To rotate the image, use the rotation handle at the top of the image. Click and drag the handle to the left or to the right to rotate the picture.
Step 6
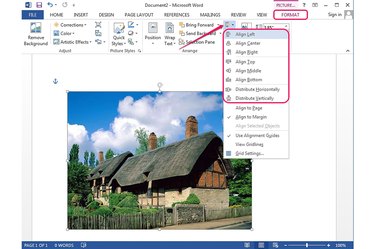
To justify the picture, select it and then select the Format tab. Click the Align Objects button in the Arrange group and then select the available options to align the image.
Step 7
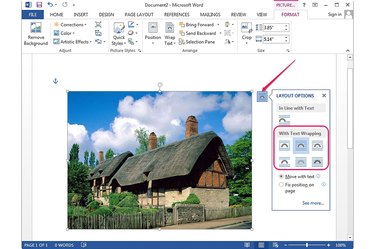
To change the font wrapping, click the Layout Options icon in the upper right corner of the image and choose any of the available text wrapping styles.
To prevent the image from moving to another location on the page when you type or insert new text, select the Fix position on page radio button.
Video of the Day