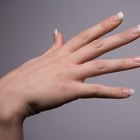
Acrylic nails are simple nail overlays that you glue to your natural nails. Acrylic nails help you create a healthy, uniform look across both of your hands and require less maintenance than natural nails. When you first glue a set of acrylic extensions onto your fingers, you will notice a small bump where the acrylic surface meets the natural nail. If you want your acrylic nails to look as attractive as possible, smooth out that surface and make it less noticeable.
Follow all manufacturer instructions for prepping your nails for acrylics extensions. Each brand requires a slightly different process and correct preparation is critical in ensuring success.
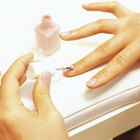
Apply each of the acrylic extensions to your nails and allow them to dry.
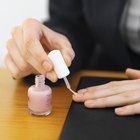
Dip your acrylic brush into the acrylic liquid.
Dip the brush into the acrylic powder and rotate the brush until you form a small ball at its tip.
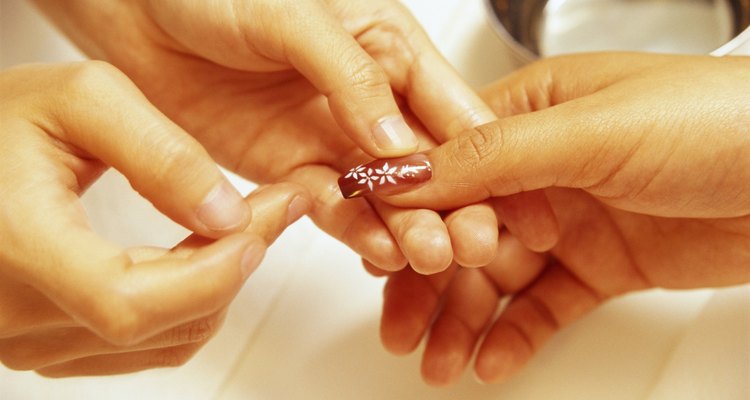
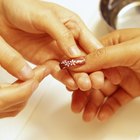
Place the ball of acrylic powder at the free edge of your nail, which is the part that hangs over the fingertip.
Smooth this ball out with the brush and blend it into the nail.
Place another small ball of acrylic on the seam between the artificial and natural nail. Smooth this out with the brush, blending it upward and into the ball of acrylic you just added to the free edge.
Grab another small ball on the tip of the brush and place it on the exposed part of your natural nail. Blend this ball toward the tip of the nail, creating a rough but even surface over the entire length of the nail.
Repeat steps one through eight for each of your acrylic nails and allow them to dry.
Buff the surface of each of your nails with the rough side of a nail buffer. Use this tool to smooth out the acrylic you added and create a seamless look.
Buff each nail with the fine side of a nail buffer to bring them to a bright shine.
Related Articles
How to Get Natural-Looking Acrylic Nails
How to Get Shiny Acrylic Nails at Home
How to Apply Nail Polish Without Streaks
How to Apply Acrylic Over Polished Nails

How to Round Your Nails
How to Apply "Tip and Dip" Nails ...
How to Use a Nailene Acrylic Sculpture ...
How to Whiten Natural Nails

How to Fill in Nails
How to Soak Acrylic Nails off in Nail ...
How to Put an Acrylic Nail Back on ...
How to Do Two-Tone Nails

How to Cover Up Lip Hair Without Waxing
How to Remove Acrylic Nails Without ...

How to Even Out Two Asymmetrical ...
How to Use Sanding Blocks for Nails
How to Do Your Nails to Look Like You ...
How to Make Nails Look Longer
How to Keep Your Pink & White Nails ...

Can Sweet Almond Oil Be Used to Soften ...