Things You'll Need
Wooden picture frame
Clear glue
Shallow wooden box
Scissors
Spray adhesive
Fabric
Credit card
Hinges
Wood tacks
Small latch
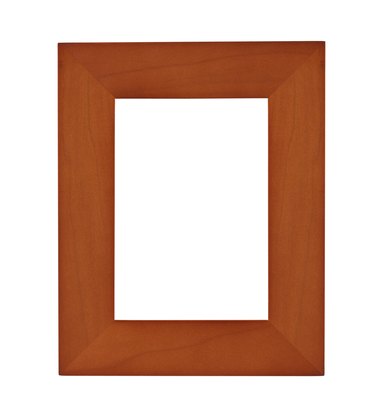
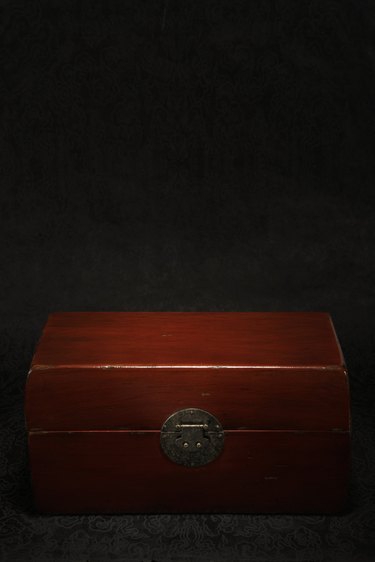
Shadow boxes can be great ways to display a diorama or souvenirs from important events. The glass on the front of a shadowbox can add protection to what is inside of the shadow box and give the piece a nice finished look. You can make your own glass-fronted shadow box using a picture frame with a wide wooden border as the front of the box. When selecting your picture frame, look for one that has at least a two-inch border and is at least one-inch thick. Once you have your frame picked out, find a shallow wooden box to use as the back. The box will be mounted to the back of the picture frame so choose one that fits within the dimensions of the wooden border on your frame.
Step 1
Remove the back from the picture frame and discard. Gently remove the glass from the frame. Apply a small bead of clear glue around the ledge of the picture frame where the glass was sitting and press the glass back into the frame. Do not apply so much glue that it seeps when the glass is installed. Allow the glue to dry until it is held securely in place onto the frame.
Video of the Day
Step 2
Cut strips of fabric in the same dimensions as the inside of the wooden box. You will need five pieces of fabric -- one for each side and one for the back wall. Spray the inside of the wooden box with spray adhesive and cover with the strips of fabric to give the box a lining. Use the edge of a credit card to smooth out the fabric. Allow the adhesive to dry completely.
Step 3
Attach the picture frame to the box with a hinge. Use a hinge that is narrow enough to fit on the back side of the frame or that can be concealed along an outside edge of the frame. Avoid placing the hinge on the front of the frame. Use short tacks to affix the hinge so they do not push all the way through the wooden frame. Affix the second side of the hinge to the wooden box. Align the frame over the open side of the wooden box. Once centered, press wood tacks into the hinge to attach it to the box.
Step 4
Attach the latch on the side opposite of the hinges. Use wood tacks to attach one side of the latch to the back or edge of the picture frame and the opposite side of the latch to the wooden box. Align the two pieces so the latch is able to open and close properly. Use a small latch for a more seamless appearance.
Video of the Day