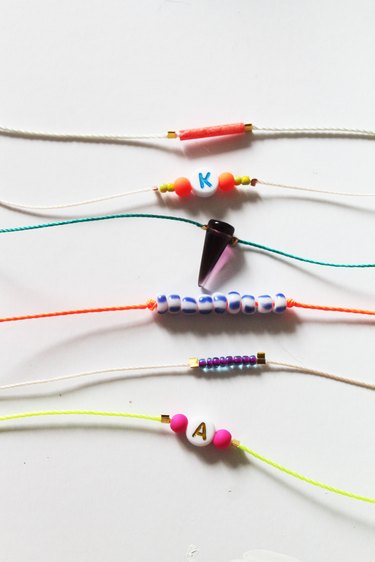
Create dainty string bracelets for you and your friends this summer using neon string and fun charms! Making your own bracelets can be quick, affordable and fun -- plus they make great last-minute gifts that are unique and personal.
Things You'll Need
Coated Nylon Thread
Scissors
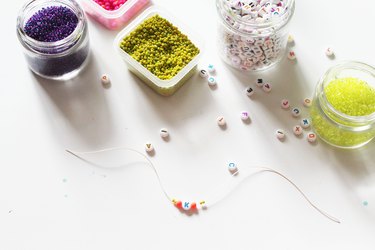
Small Beads or Charms
Crimp Beads
Ruler
Flat Nose Pliers
Video of the Day
Step 1: Cut a 10-inch Length of Nylon Cord
Comfortably loose bracelets range from 6.5" to 7," so be sure to leave extra cord to tie your bracelet on or trim frayed ends.
Video of the Day

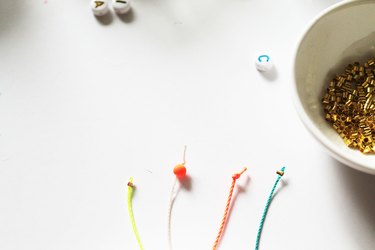
Step 2: String Your Beads and Charms
Experiment with different patterns or keep it minimal with a single charm. Center the beads and charms on the cord and keep them in place using a single knot or crimp bead. Crimp beads are easy to flatten with flat nose pliers and come in a range of metal finishes.
Tip
Make your friends mini-monogram bracelets using plastic letter beads!
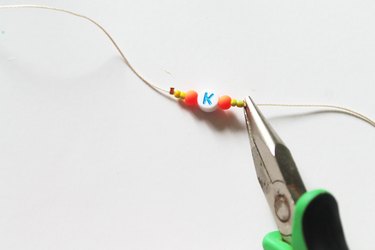
Step 3: Finish Your Ends
Adding knots, seed beads or crimp beads to the ends of your string bracelet creates a finished look and looks great once tied on.
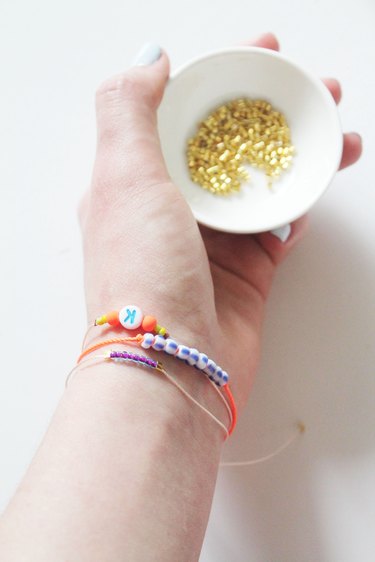
Step 4: Tie, Wear and Share
Tie your handmade bracelets on with a single knot -- layer multiple for a fun stacked look. String bracelets are great for gifting and easy to send to friends via mail.