Things You'll Need
Latex balloon
Thin cardboard
Scissors
Masking tape
Flour
Bowl
Paper
Silver paint
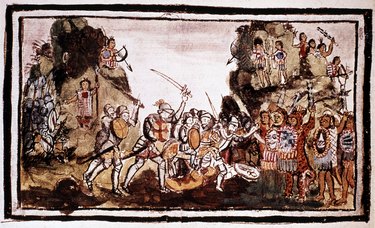
The conquistadors were a group of Spanish explorers who went on a conquest through much of America, including Mexico and Peru. One of their most memorable traits was their curvy conquistador helmets. You can recreate one of these historic headpieces in just a few steps. By using cardboard, and a few other supplies you probably already have at home, you'll be able to create your own conquistador helmet.
Step 1
Blow up a latex balloon until it is about the same size as your head. Tie its end in a knot.
Video of the Day
Step 2
Sketch the shape of the conquistador's helmet brim on a piece of lightweight cardboard, such as the back of a notepad or an empty cereal box. These side pieces are slightly U-shaped and mirrored on the right and left side of the helmet. The brim's sides come to a point in the center of the wearer's forehead, droop downward over the ears and extend upward again in the back. They should be at least 3 inches wide. Cut out the brim pieces. Use masking tape to attach them to the sides of the balloon. When taping, remember that the top of the balloon will be the top of the helmet and adhere the pieces accordingly.
Step 3
Design the top piece of the helmet on another piece of lightweight cardboard. This headpiece is crescent-shaped. It sits on the helmet similarly to a mohawk, with one point directed toward the face and the other in the back. Cut out this shape and attach it to the top of the balloon with masking tape.
Step 4
Mix together one part flour with two parts water in a bowl. Stir the ingredients together to create the paper mache paste. Use newspaper or brown paper bags to create the paper mache. Tear the paper into strips that are about 1 inch wide and 6 inches long.
Step 5
Place one of the paper strips into the paper mache paste. Use your fingers to squeegee off any excess paste, then adhere the paper to the balloon helmet. Smooth out the strip with your finger. Continue this process to cover the top of the balloon, the crescent headpiece and the top and bottom of the side brims with paper mache. Do not paper mache the underside of the balloon, as this the opening where your head will go. Allow the glue to dry completely, which could take up to 24 hours.
Step 6
Pop the balloon inside the helmet. You will now have the shape of the headpiece. Cover the helmet with two more layers of paper mache, waiting for each layer to dry before adding another. Allow the helmet to dry completely.
Step 7
Paint the conquistador helmet silver using a paint and paintbrush, or a spray paint. Allow the paint to dry before wearing your new headpiece.
Video of the Day