Things You'll Need
Plastic bucket
Plumber's torch
Striker
Locking pliers
200-grit emery cloth
Replacement fitting
Round wire brush
Soldering flux
Lead-free solder
Failing solder joints, a cracked fitting or a combination of the two will lead to a slow leak around joints in an installed copper plumbing system. Both issues repair using the same methods as new copper installation with the exception of removing a damaged fitting. Removing and replacing the fitting located near a slow leak will increase the chances of eliminating leaking water over resoldering a joint that could have contaminants embedded deep in the connection between the fitting and the pipe.
Step 1
Open all faucets connected to the copper line with the slow leak. Turn off the supply valve providing water to the line. Place a plastic bucket under the leak.
Video of the Day
Step 2
Turn on the valve of a plumber's torch -- map or propane gas. Position a striker in front of the torch tip. Push the striker to light the gas. Do not use a striker if the torch has a working built-in igniter.
Step 3
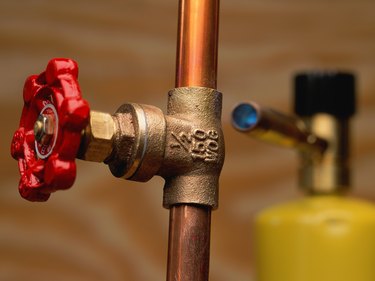
Hold the torch flame 2 inches away from the leaking fitting. Grasp the fitting with a pair of locking pliers. Twist the pliers as you continue to apply heat. Pull the fitting from the pipe when the soldered joints release. Set the hot fitting on a non-combustible surface until cool.
Step 4
Clean the ends of the copper pipes exposed after fitting removal by wrapping 200-grit emery cloth around the end of each pipe and twisting the cloth five to six times. Clean the inside of a replacement fitting -- matching the removed fitting -- with a round wire brush.
Step 5
Apply soldering flux to the outside of each cleaned pipe end and the inside of the replacement fitting. Slide the fitting over the ends of the copper pipe.
Step 6
Hold the torch flame in the center of the replacement fitting. Wipe lead-free solder along the connection between the fitting and the pipe until the solder melts and flows inside the connection. Ensure the entire connection is sealed before soldering the other side of the fitting.
Step 7
Allow the replacement area to cool for five to six minutes. Turn on the water. Shut all open faucets after the air has cleared from the pipe.
Warning
Keep a fire extinguisher near your work area in case of fire.
Video of the Day