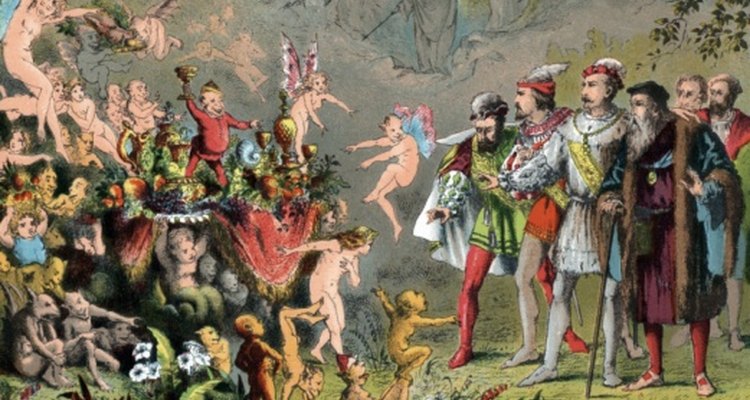
During the Elizabethan Age (1558-1603), men's fashion was redefined. The dark and heavy fabrics of the previous era, designed to make men look aggressive and dominant, was replaced with a lighter, more athletic look. At this time, men's clothing was designed to show off a narrow waist, long legs and a broad chest. Although designed to be sporty, men's clothes were elaborate, colorful and, more importantly, an expression of status and identity.
Headwear
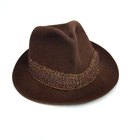
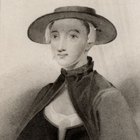
Hats were a common feature of Elizabethan men's fashion. At the start of the period, the flat cap was the most popular type of hat and was either knitted or sewn. As the era progressed, however, the flat cap was considered increasingly unfashionable among the higher social classes. Popular alternatives included the brimless knitted cap and the high-crowned hat, known as a copotain. Wool, woolen felt and leather were common material choices for hats, while wealthier gentleman preferred animal fur, particularly beaver. Hats were generally decorated with a hatband, which was often adorned with a feather or jeweled hat pin.
Underclothes
Elizabethan men's underclothes consisted of a shirt, stockings or hose and, in some cases, a codpiece. Linen became the new material of choice for underclothes as it was softer than other fabrics, bleached naturally to white and was readily available. Shirt designs were simple and usually featured square-cut sleeves gathered into a wrist band. The classic Elizabethan hose were bulbous shorts, gathered into a band at the thigh, worn with stockings. Longer, baggy hose were also worn, often with a decorated band. Although declining in popularity, an elaborately decorated codpiece was sometimes used to cover the material join of the hose. Popular colors included gray, green, russet and brown.
Overclothes
Elizabethan men attached a lace collar and ruffles to their undershirt and wore a slightly padded doublet over the top. Shirt sleeves were also padded and often decorated with an embroidered pattern. A belt or girdle was worn over the doublet to show off a man's slim waist. For men wearing canions--knee-length fitted breeches--a ribbon or rosette was often attached for decoration. When outdoors, Elizabethan men wore leather riding boots, while shoes with side-latchets and a bow were appropriate for indoors.
Accessories
Cloaks were typically worn over one shoulder, and short and long styles were equally popular among men of the era. A loose-fitting cassock with sleeves was sometimes used instead of a cloak. A beard was also considered an Elizabethan fashion accessory and was usually accompanied by a mustache, trimmed to a point.
Related Articles
What Did Men Wear in the '50s?
Men's Fashion of the 1930s
1958 Men's and Women's Dress Styles

Children's Clothes in 1910
1950s Gangster Clothes

Men's Clothes & Styles in the 1920s & ...
Clothing of the Gold Miners in the 1850s
How to Wear an 80s Headband
What Teenagers Wore in the 1940s

Children's Clothes in 1915
How Did Teenagers Dress in the '60s & ...
What Do Women Pirates Wear?
1950s Women's Fashion & Hairstyles

Men's Fashion in the 1890s

What Did Kids Wear in the 80s?

How Did Men Dress in the 1960s?
Women's Hats in the 1700s
History of Military Hats

What Type of Shirt to Wear With a ...
School Clothes in the 1900s
References
Writer Bio
Kaye Jones has been a freelance writer since 2009, specializing in history, education and mental health. Her undergraduate dissertation was published by the Internet Journal of Criminology. Jones has a first-class honors Bachelor of Arts in history from the University of Manchester.
Photo Credits
Photos.com/Photos.com/Getty Images