Home Sweet Home
Hacks, Tips & Tricks
Squeaky Clean
DIY Decor
Carpentry & Remodeling
Maintenance & Repair
Green Thumb
All Home Sweet Home
Chow Down
Main Dishes
Sweet Treats
Snacks
Copycat Recipes
Drinks & Cocktails
Sides & Appetizers
Veggie Faves
Food Hacks
All Chow Down
Get Crafty
Sew Simple
Fun Crafts
Art Projects
All Get Crafty
Let’s Celebrate
Valentine's Day
St. Patrick's Day
Easter
Mother's Day
Father's Day
4th of July
Back to School
Halloween
Thanksgiving
Christmas
New Year
Weddings
Baby Showers
Birthdays
Parties & Events
Gifts
All Let’s Celebrate
JOIN OUR NEWSLETTER
JOIN OUR NEWSLETTER
Home
Home Sweet Home
Squeaky Clean
Squeaky Clean
By
Kathryn Walsh
How to Make a Custom Cleaning Calendar for 2024
Home Sweet Home
By
Kathryn Walsh
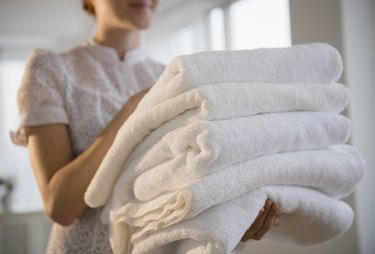
Seasonal Clothing Care Tips, From Salt Stains to Sweater Pilling
Home Sweet Home
By
Hilary Ribons
Laundry Lowdown: Ironing Out Your Most Pressing Laundry Questions
Home Sweet Home
By
Jill Layton
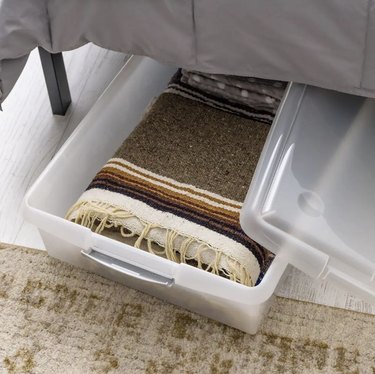
Storage Containers That Make Use of Your Under-Bed Space
Home Sweet Home
By
Anna Buckley
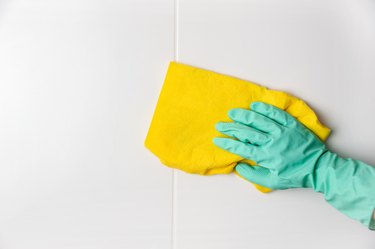
#CleanTok Tips for Cleaning Walls, Ceilings & Baseboards
Home Sweet Home
By
Anna Buckley
3 Hacks to Clean White Sneakers for Spring...the TikTok Way!
Home Sweet Home
By
Jessie Quinn
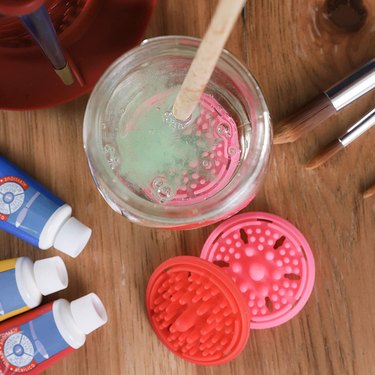
Spring Craft Cleaning: The Best Mats and Tools to Keep Your Space Clean While You Create
Home Sweet Home
By
Spencer Hall
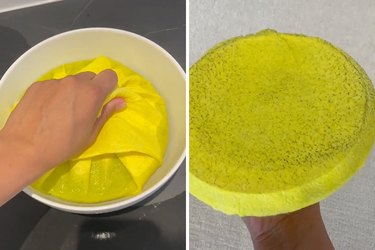
These Dish Sponges Tackle Dirty Dishes Like No Others
Home Sweet Home
By
Megan McCarty
Swedish Dishcloths That Are Stylish and Sustainable
Home Sweet Home
By
Fred Decker
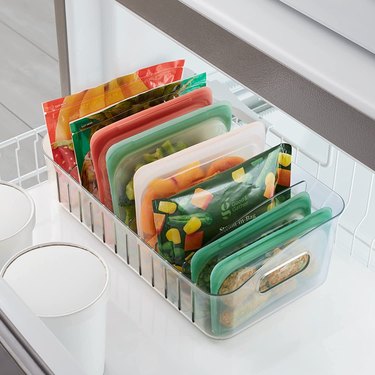
9 Clever Ways to Organize Your Freezer
Home Sweet Home
By
Jill Layton
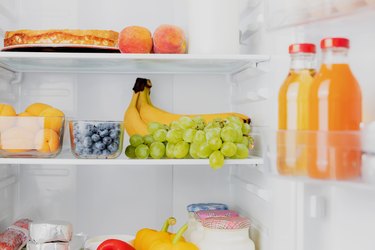
11 Products to Help You Organize Your Refrigerator in No Time
Home Sweet Home
By
Eric Mohrman
8 Essential Tools for Hand-Washing Dishes
Home Sweet Home
By
Anna Buckley
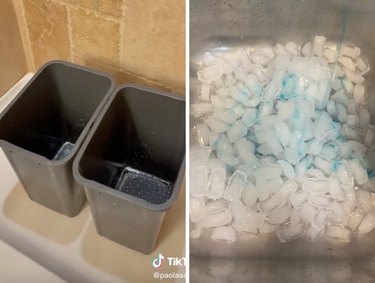
#CleanTok Garbage Bin Hacks to Refresh Your Space
Home Sweet Home
By
Anna Buckley
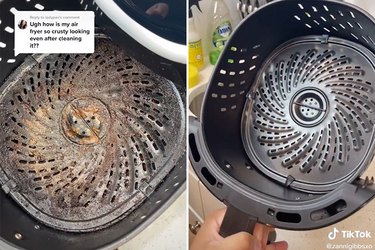
Tips for Cleaning Kitchen Appliances...the TikTok Way!
Home Sweet Home
By
Adrienne Farr
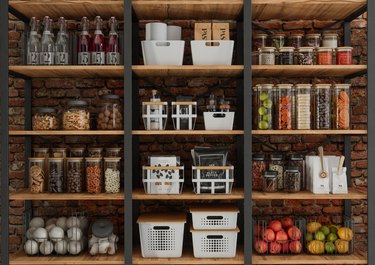
Expert Kitchen Decluttering Tips for Every Day of the Week
Home Sweet Home
By
Jill Layton
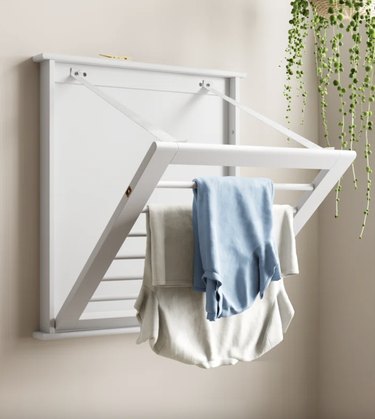
Clothes Drying Racks Are the Energy-Saving Alternative to Dryers That Are Worth a Look
Home Sweet Home
By
Eric Mohrman
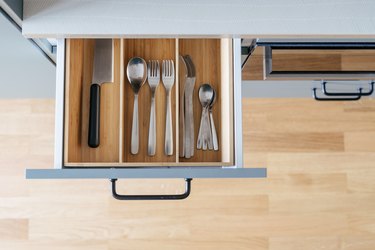
Tackle Kitchen Clutter With These Drawer Organizers
Home Sweet Home
By
Samantha Mannis
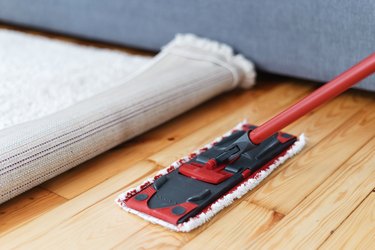
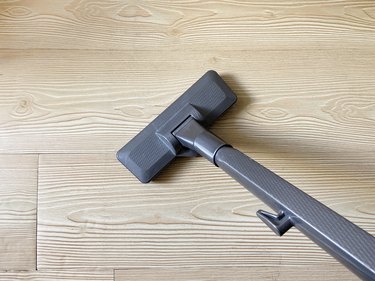
These Mops Make Washing the Floors as Easy as Possible
Home Sweet Home
By
Samantha Mannis
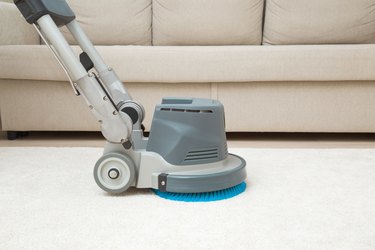
Carpet Cleaner Machines That Will Revitalize Your Carpets and Floor Rugs
Home Sweet Home
By
Samantha Mannis
Upright Vacuum Cleaners That Make Short Work of Targeting Dust and Dirt
Home Sweet Home
By
Anna Buckley
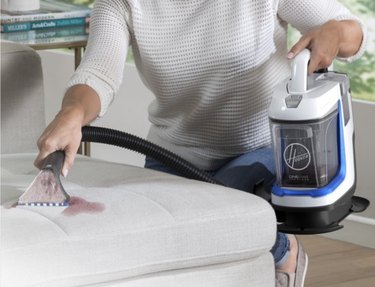
An Easy Couch-Cleaning Hack (Thanks, TikTok!)
Home Sweet Home
By
Jill Layton
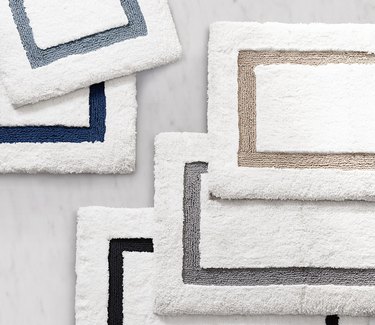
Stylish Bath Mats Your Feet Deserve
Home Sweet Home
By
Anna Buckley
Properly Load a Dishwasher, the TikTok Way!
Home Sweet Home
By
Stephanie Valente
Fall Refresh: Don't Just Clean...Cleanse!
Home Sweet Home
By
Samantha Mannis
The Best Upholstery Cleaners in 2022
Home Sweet Home
By
Jill Layton
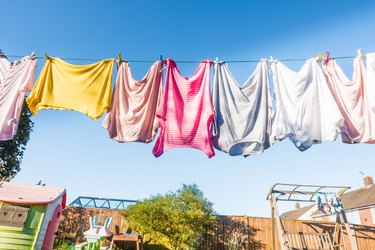
Eco-Friendly Bleach Alternatives to Brighten Your Laundry
Home Sweet Home
By
Samantha Mannis
The Best Cleaning Gloves in 2022
Home Sweet Home
By
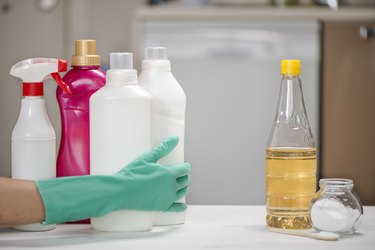
Samantha Mannis
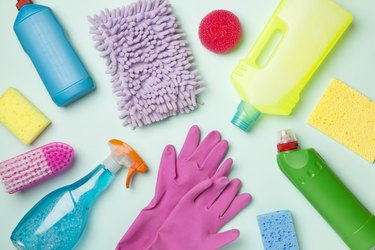
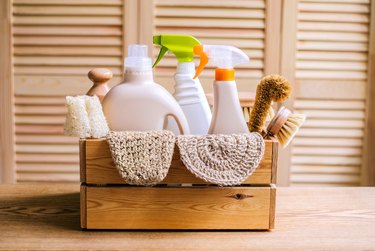
Natural Cleaning Products to Safely Keep Your Home Spotless
Home Sweet Home
By
Jill Layton
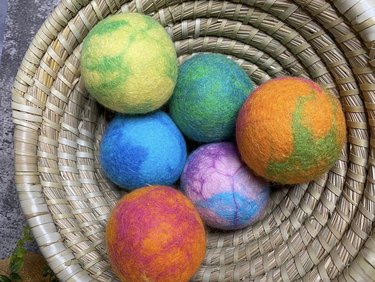
Ditch Dryer Sheets for These Long-Lasting Wool Dryer Balls
Home Sweet Home
By
Jill Layton
8 Eco-Friendly Laundry Detergents That Are Gentle on Skin and the Environment
Home Sweet Home
By
Jill Layton
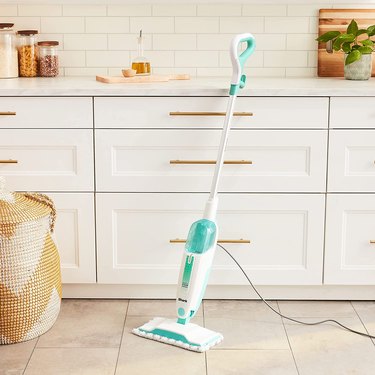
The Best Steam Mops in 2022
Home Sweet Home
By
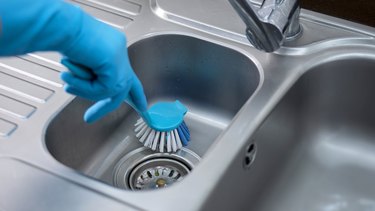
Ashley Tyler
10-Minute Hacks to Sanitize Your Sinks
Home Sweet Home
By
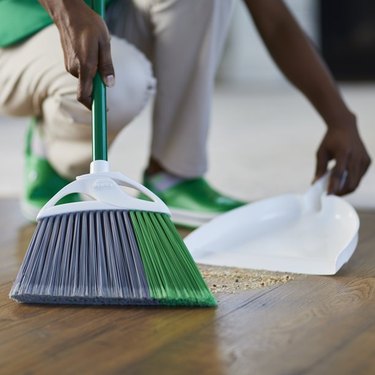
Jill Layton
The Best Household Brooms in 2022
Home Sweet Home
By
Ashley Tyler
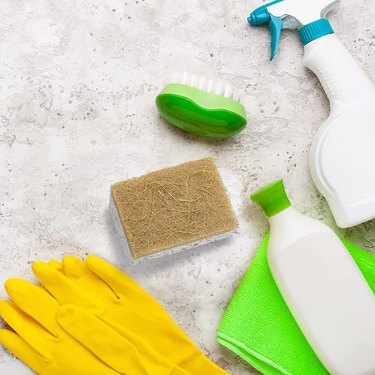
10 Tips to Make Your Cleaning Routine More Eco-Friendly
Home Sweet Home
By
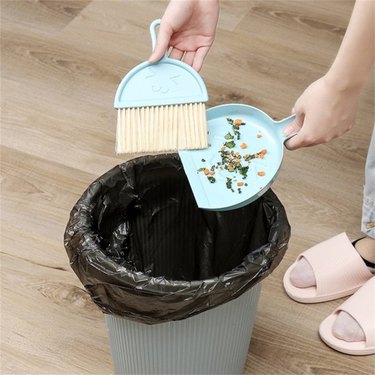
Jill Layton
The Best Dustpan and Brush Sets in 2022
Home Sweet Home
By
Jill Layton
The Best Dish Brushes and Scrubbers in 2022
Home Sweet Home
1
2
3
4
5
>
Report an Issue
Contact*:
Severity*:
High
Normal
Low
Description*:
Screenshot loading...
Cancel
Submit