The Differences Between Forceps & Hemostats
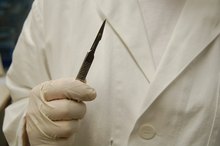
Doctors need many tools to perform their jobs, and this is especially true for surgeons. To completes a surgery, a physician needs many other instruments, usually more than one. Two important tools are forceps and hemostats. Without them, many surgical procedures could not take place.
Forceps
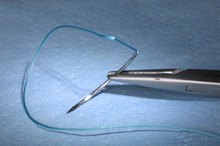
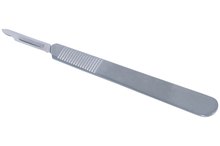
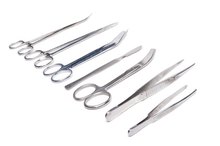
Forceps can either be tweezer-like implements or tools that resemble scissors. Forceps that look like tweezers are pinched in the center to make the tips meet to grasp objects. Other forceps pivot like scissors but have a locking ratchet on the inside of the handles causing the forceps to lock. Some forceps have smooth tips, and others have ridged tips that create a tight grip. Forceps can come in many different sizes with various tips. They are usually made of a stainless steel alloy, although plastic forceps can sometimes be used. Each type has a specific function to assist surgeons in all areas of the human body.
- Forceps can either be tweezer-like implements or tools that resemble scissors.
- Some forceps have smooth tips, and others have ridged tips that create a tight grip.
Forcep Uses
Knots Used to Repair Fishing Net
Learn More
Forceps can be used to touch sterile bandaging when a physician cannot touch it. Forceps can also hold onto small pieces of tissue during surgeries or in areas where the fingers cannot reach or fit. Specialized forceps assist in the vaginal delivery of infants. Intestinal forceps have a very long and narrow tip. It's design was to prevent damage to the intestines while blocking off the bowels. Another type was designed to hold organs like the bladder.
- Forceps can be used to touch sterile bandaging when a physician cannot touch it.
- Forceps can also hold onto small pieces of tissue during surgeries or in areas where the fingers cannot reach or fit.
Hemostat
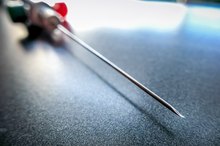
A hemostat is essentially a type of a forceps. It is built similar to a pair of scissors, except it does not cut. The hemostat also has the locking function found on other forceps. They can have straight tips or curved. One difference is that the tip can be significantly smaller than those of forceps. This is called a mosquito hemostat. A carmalt hemostat has a straight tip, but has a rough surface for gripping certain tissues. All hemostats are made of the same materials as other forceps. Like forceps, the type of the hemostat serves an individual function.
- A hemostat is essentially a type of a forceps.
- The hemostat also has the locking function found on other forceps.
Function of the Hemostat
List of Surgical Instruments
Learn More
The primary use of a hemostat is to clamp and hold onto blood vessels. It is important to block off blood vessels during surgery so that the patient does not bleed to death. In fact, the beginning of the word, hemo, is a Latin prefix word that means blood. There are many types of hemostats that handle all the different types of blood vessels in the body.
- The primary use of a hemostat is to clamp and hold onto blood vessels.
Related Articles

Knots Used to Repair Fishing Net
Learn More
List of Surgical Instruments
Learn More
Types of Surgical Staples Used Internally
Learn More
Types of Surgical Needles & Their Uses
Learn More
How to Assemble a Blood Pressure Cuff
Learn More
Medical Instruments & Their Uses
Learn More
Medical Instruments & Their Uses
Learn More

Kidney Stent Side Effects
Learn More
How to Set Surgical Trays for an Operating Room
Learn More
How to Remove a Cast
Learn More
Writer Bio
Elle Dunkle began freelance writing in 2007 for various websites. Dunkle graduated from Pennsylvania State University with Bachelor of Science degrees in criminology and forensic science.