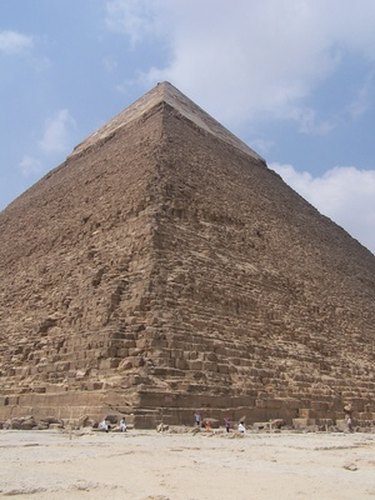
Pyramids are educational from geometrical, historical and artistic angles. Children can add to their knowledge about the structures with the hands-on activity of building a papier mache pyramid. From a mathematical point of view, students can observe the way equilateral triangles can form structures. Historically, lessons can be taught about the different processes used over centuries to build pyramids. Artistically, students can appreciate the beauty of geometrical figures and decorate them imaginatively.
Video of the Day
Things You'll Need
Bowl
Newspaper
Paper Bags
Cardboard
Varnish (Optional)
Scissors
White Glue
Wrapping Paper (Optional)
Paintbrush Or Sponge (Optional)
Masking Or Other Paper Tape
Tape Measure Or Ruler
Water
Forming the Pyramid
Step 1
Decide how big you want your finished pyramid to be. Cut a square out of cardboard the size of the base of your pyramid. Measure and cut four equilateral triangles, with the length of each triangle side equaling the length of one side of the square.
Video of the Day
Step 2
Position one side of a triangle to align with one side of the square. Stand the triangle up, leaning it toward the center of the square. Repeat this process with one triangle on each of the four sides of the square.
Step 3
Tape the triangles in place so that they meet each other on both sides and meet the square on the bottom. Use masking tape or other paper-based tape so the papier mache will adhere to the pyramid.
Making the Paper Mache
Step 1
Pour white liquid glue into a bowl. Add water to the glue at a rate of 3 parts glue to 1 part water.
Step 2
Tear newspaper, paper bags or other heavy paper into 1-inch wide strips of any length. Tear enough strips to cover your pyramid in at least five layers.
Step 3
Dip one strip into the glue mixture, covering it fully. Press the strip flatly onto the cardboard pyramid. Smooth the strip to ensure there are no wrinkles or bubbles.
Step 4
Add glue-covered strips to the pyramid until the structure is completely covered on all three sides. Repeat until you have added five layers of strips to the pyramid.
Step 5
Allow the pyramid to dry overnight. Trim rough or loose pieces of paper from the pyramid with scissors. Apply a coat of clear varnish with a clean brush or sponge to seal the pyramid and give it a shiny appearance.
Tip
Substitute colorful wrapping paper or colored newspaper comic pages for the outer layer if you prefer a brighter pyramid.
Warning
Place the strips so that they do not overlap more than once per layer at the top of the pyramid. Prevent a lumpy point at the top by only placing one strip per layer in that location.