Things You'll Need
Scanner
Computer
Photo editing software
Hair dryer
Lamp (optional)
Warning
Never heat-activate the front of a thermal paper document to create a "negative" image as you can quickly lose the original thermal print information if you hold the paper too close to the heat source.
Always heat through the back of the paper so that you can better gauge if your thermal paper is reacting to the heat.
Always wash your hands before handling any thermal paper and never touch areas that have printed information because the oils in your skin and any oils, dirt or chemicals clinging to your skin can cause the thermal paper to react.
Always save scanned copies of your thermal paper documents as a backup in case you lose the originals or an accident occurs in which the thermal paper becomes exposed to heat causing it to lose all print information after turning completely brown or black.
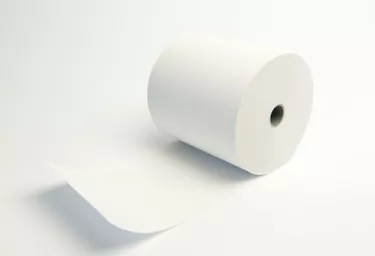
Over time, heat-activated or "thermal" paper fades as the paper's chemical coating reacts to other chemicals, water and even different types of oils. Because many people retain receipts for financial purposes such as rebates, tax audits, refunds and/or warranty protection, losing critical information—especially the original documentation—can result in serious consequences including loss of monies and/or legal complications. Thankfully, restoring faded thermal paper isn't difficult as long as the entire faded paper receipt is white instead of completely brown or black.
Step 1
Scan your faded thermal paper as a colored photo and then use your photo editing software's special effects tools to create a negative image—a black image featuring the faded print outlined in white or completely white. In your open image, select any tool option titled "Negative" or "Create a negative," and then use any other enhancement features to make the whitened original print information clearer. For example, adjust the level of contrast or smooth or sharpen the print on the image.
Video of the Day
Step 2
Use a hair dryer to create a "negative" image if tweaking a scanned copy of your thermal paper didn't restore the print information. Turn on your hair dryer and lightly blow heat over the back of the faded thermal paper that you hope to restore. Hold the hair dryer at least 8 to 12 inches from the away from the surface to protect against rapid darkening that could cause the original thermal print information to blacken completely.
If you don't have a hair dryer, use a light bulb, but hold the paper approximately 2 to 5 inches from the light bulb depending on the level of heat the bulb generates.
Step 3
Save a copy of your restored thermal paper document for your records and store the original hardcopy in a cool, dry place away from UV light, water or chemicals.
Video of the Day