Handmade Christmas ornaments add so much personality and charm to a tree or tablescape. And one of the most versatile ornament starters is the humble pinecone. You can use pinecones to create countless ornaments, each more ingenious than the next. Here, we're transforming pinecones into three delightful holiday decorations — gnomes, penguins and angels. Not only would they be perfect on a tree, but they would also make great gifts that would put a smile on anyone's face.

Video of the Day
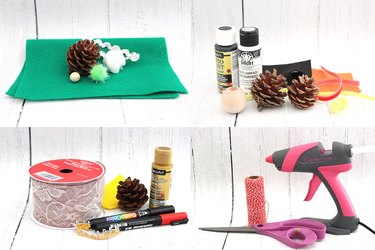
Things You'll Need
Pinecones
Wood beads
Felt of different colors
Hot glue
Pompoms
Ric rac trim
Cotton ball
String or fishing line
White paint
Black paint
Pipe cleaner
Ribbon
Gold metallic paint
Colored paint markers
Gnome Pinecone Ornaments
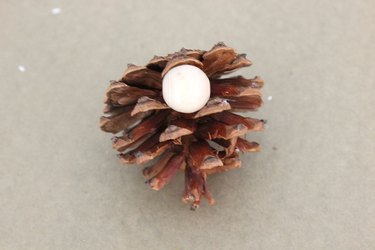
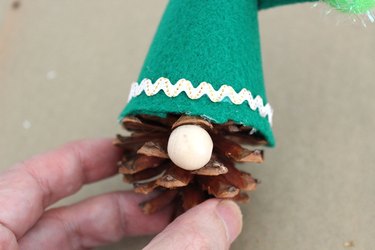
Step 1: Start With the Nose
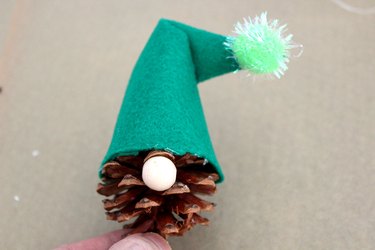
Turn a pinecone upside down so the pointy end is on the bottom. Hot glue a small wood bead at the top, positioning it between two or more pinecone scales. The wood bead I used was about a half inch and made for a prominent nose.
Video of the Day
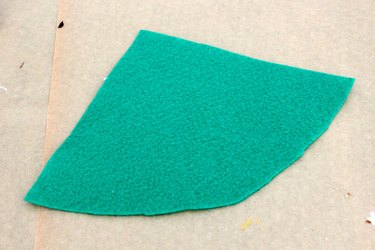
Step 2: Make the Hat
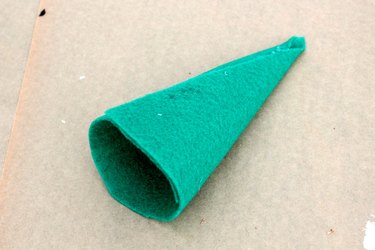
Cut a piece of felt in a quarter circle shape, about five inches.
Roll it into a cone and hot glue the ends together to maintain the shape.
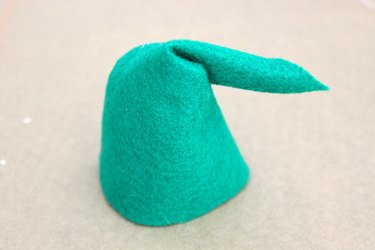
I like bending the hat so it doesn't look like a dunce cap. Fold the hat and add hot glue where the bend is.
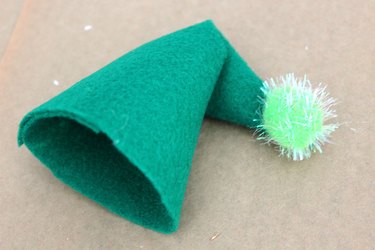
Attach a pompom with hot glue to the tip of the hat.
Step 3: Attach the Hat
Hot glue the hat to the top of the pinecone right above the nose.
If you'd like, decorate the hat some more at this point. I hot glued some ric rac trim around the base of the hat to give the gnome a more festive look.
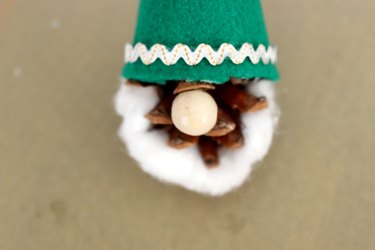
Step 4: Add the Beard
Stretch out a cotton ball to about four inches.
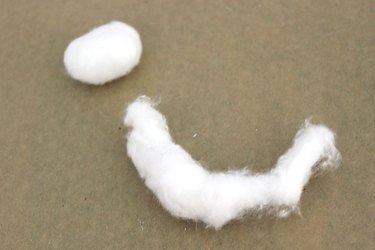
Place it around the gnome's face to create the beard. While you can glue it in place, you can also just tuck the cotton in between the pinecone scales to secure it. As you can see, the beard really distinguishes the gnome's face. It actually looks like his eyes are squinting as he's smiling.
Step 5: Add a Hanging Loop
Tie a piece of string into a knotted loop.
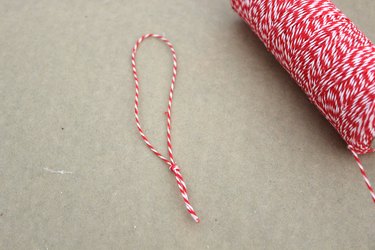
Hot glue the loop to the back of the gnome towards the top of the hat with a small piece of felt covering the knot of the loop.
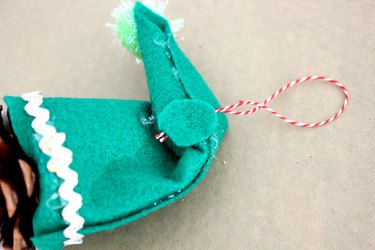
With these ornaments, it'll be "gnome sweet gnome" this holiday season.

Penguin Pinecone Ornaments
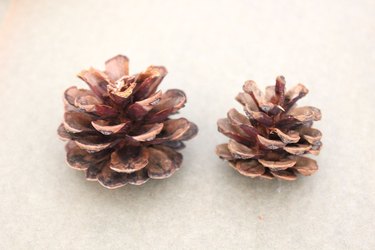
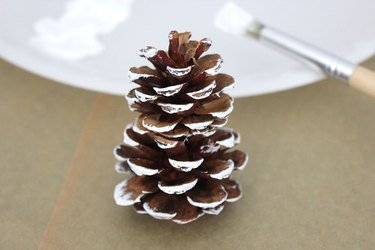
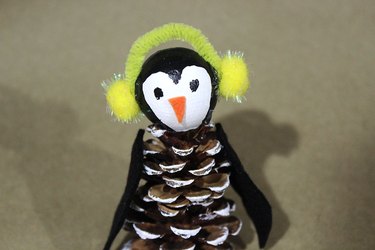
Step 1: Create a Taller Pinecone
While penguins' bodies tend to be more slender, the pinecones I got at the crafts store were more short and round. To create a pinecone with a more penguin-like shape, take two pinecones, one slightly smaller than the other.
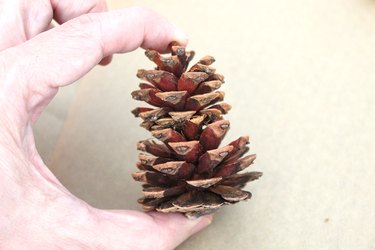
Use some shears to trim the top scales of the larger pinecone. This will leave space to fit the smaller pinecone.
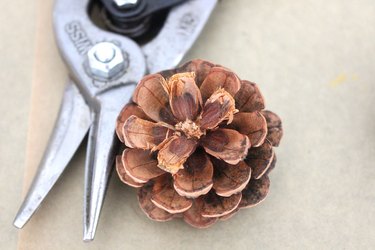
Attach the smaller pinecone on top of the larger one with some hot glue. Now that's a penguin shape.
Step 2: Paint the Pinecone
Paint the pinecone white. You don't need to cover all the scales with paint. It actually looks better with just the outside edges painted white.
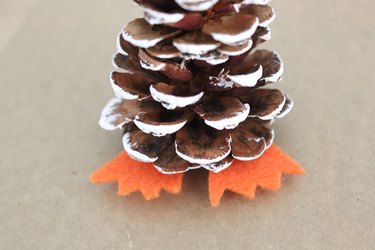
Step 3: Make the Feet
Cut some penguin feet out of orange felt. You're not going for anatomical accuracy here. Just cut something that resembles webbed feet.

Hot glue the feet to the bottom of the pinecone.
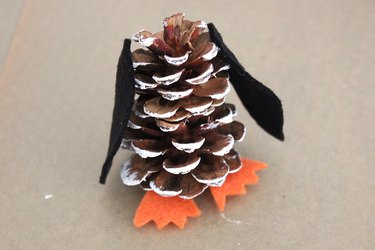
Step 4: Add the Flippers
Cut two flipper shapes out of black felt. They should be just shorter than the height of the pinecone.
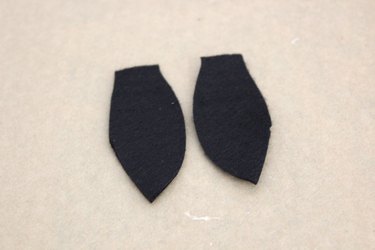
Hot glue the flippers to the left and right sides of the pinecone.
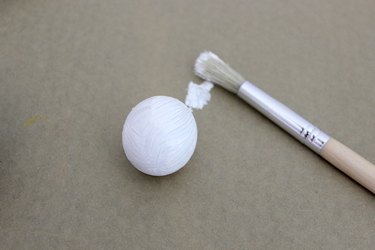
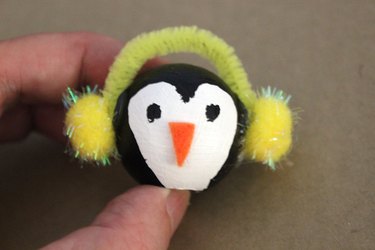
Step 5: Paint the Head
For the head, we're using a wooden bead. The appropriate size will depend on the size of your pinecone. I used a wooden bead that was about one and a half inches in diameter. Start by painting it white.
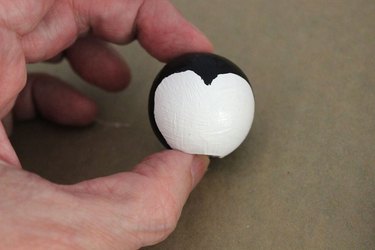
Then paint the head black, leaving a white heart shape for the face of the penguin.
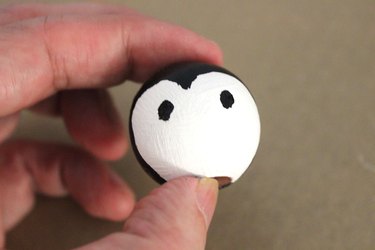
Add two round eyes, one in each half of the white heart.
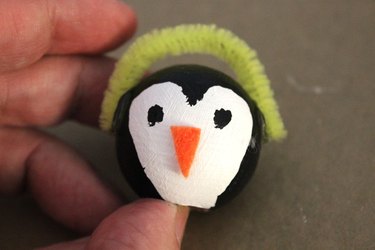
Step 6: Give It a Beak
Cut a small triangle out of orange felt.

Glue it to the face between the eyes.

Step 7: Add Some Earmuffs
To up the cuteness factor, let's give the penguin some earmuffs. Cut a small piece of a pipe cleaner so it wraps around the top of the head, with a little head clearance. Hot glue the ends to the sides of the head.
Hot glue some small pompoms to the tips of the pipe cleaner to finish the earmuffs.
Step 8: Attach the Head
Position the head on top of the pinecone body and secure it with hot glue.
Step 9: Make a Scarf
To hide any hot glue between the head and body, wrap a piece of ribbon around the neck and glue it in place. Now the penguin has a stylish scarf to go with those earmuffs.
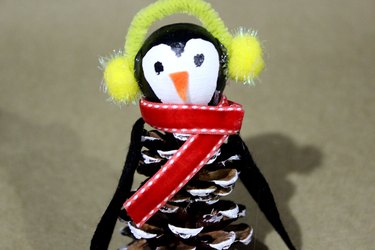
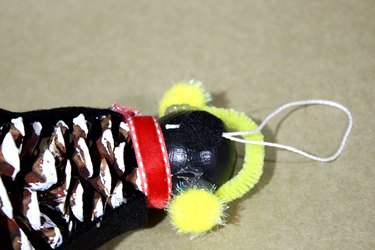
Step 10: Attach a Hanging Loop
Tie a piece of string into a knotted loop and hot glue it to the back of the penguin's head. Cover the knot in the loop with a small piece of black felt.
You'll definitely want to chill with these penguins.

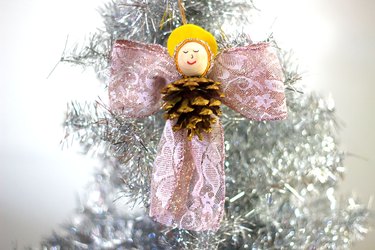
Angel Pinecone Ornaments
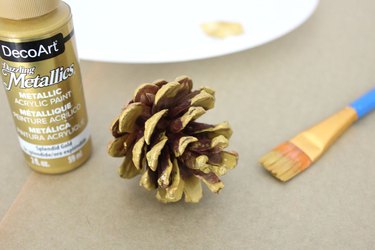
Step 1: Paint the Pinecone
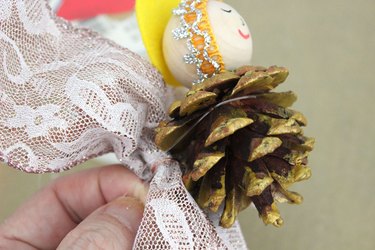
We want this angel to sparkle, so paint the pinecone with some metallic gold paint.
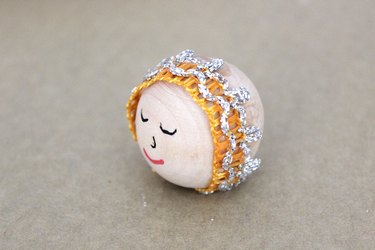
Step 2: Draw the Face
For the head, we're using a wooden bead that is about an inch and a half in diameter. With permanent paint markers, draw two eyes, a nose and a mouth. It's easier to draw closed eyes than open ones, and the closed eyes actually look very peaceful and angelic.

Step 3: Add a Headdress
So the angel is not bald, let's add a headdress. It's also easier than trying to make hair. For the headdress, cut a small piece of ric rac trim and wrap it around the head to frame the face. Hot glue the ric rac in place.
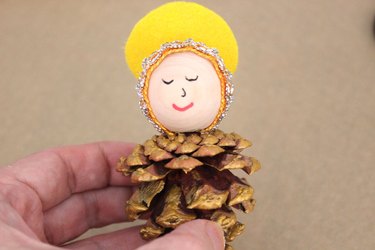
Step 4: Make the Halo
Cut a circle out of yellow felt that is slightly larger than the head.

Hot glue it to the back of the head.

Step 5: Attach the Head
Turn the pinecone upside down so the pointy tip is on the bottom. Hot glue the angel's head to the top of the pinecone.
Step 6: Shape the Wings
With a piece of three-inch wide ribbon, create a bow with two loops and two tails. Tie it in place with some wire, string or fishing line.
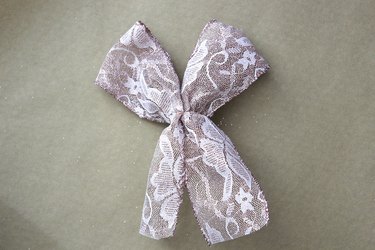
Secure the body of the angel to the wings by wrapping some string or fishing line around the pine cone and tying it to the bow. The tails of the bow also function as the angel's gown.
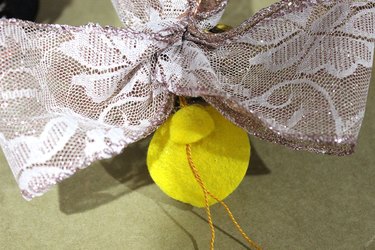
Step 7: Add the Hanging Loop
Tie a piece of string into a knotted loop, and hot glue it to the back of the angel's head. Cover up the point where the hot glue hits the knot with a small piece of yellow felt.
This angel would also make a heavenly tree topper.