eHow may earn compensation through affiliate links in this article.
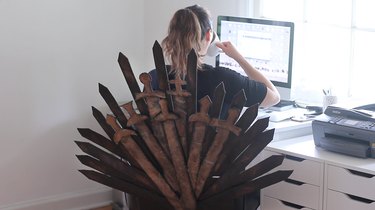
Claim your title in the office as ruler of the Seven Staplers with your very own DIY Iron Throne. With the series finale of Game of Thrones upon us, it's the perfect ode to the end of an epic show. Made entirely out of cardboard, it's extremely lightweight and easily attaches to the front or back of any office chair. With its rusty iron spikes and steely swords (Valyrian steel, of course), it will transform a simple seat into an ominous throne fit for the Mother of Dragons or King of the North. Whether they're GOT fans or not, we guarantee all of your coworkers will bend the knee, or at least stop by your desk for a photo op.
Video of the Day
Things You'll Need
Scrap cardboard
Box cutter or utility knife
Silver & copper craft paint
Paintbrush
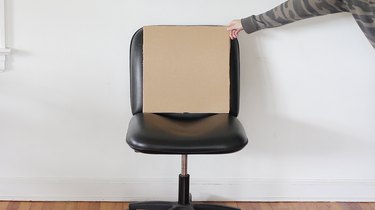
Step 1
Measure the height and width of the chair back you intend to transform into a throne. Cut a piece of cardboard that's roughly the same size.
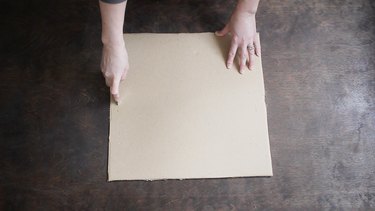
Step 2
Use a box cutter or utility knife to cut a small slit, about an inch long, on each side of the cardboard piece.
Then pull a long piece of elastic string through the slits. This is what you'll use to tie the throne to your chair.
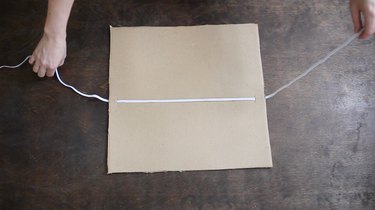
Tip
Ribbon or string will work in a pinch, but elastic string will allow you to tighten the throne more securely to your chair and prevent it from slipping down throughout the day.
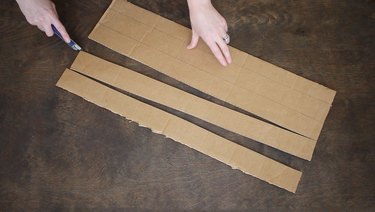
Step 3
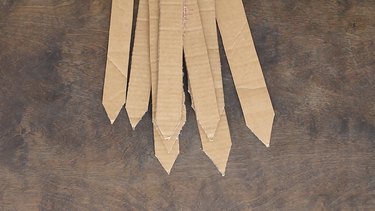
Use a ruler to measure and mark long strips of cardboard that are 1 1/2 inches wide by 2 feet long, and cut them out with a box cutter or utility knife. We ended up needing 24 strips to make our throne (17 for spikes and seven for swords).
Step 4
Cut the tip of each strip into a pointed spike.
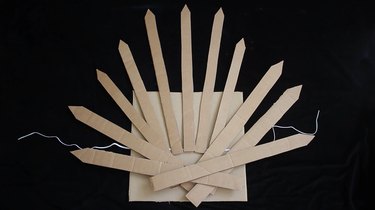
Step 5
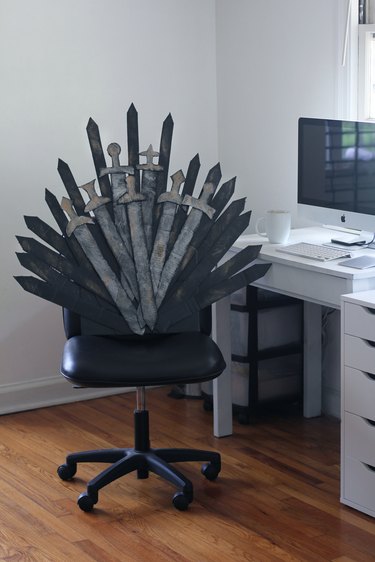
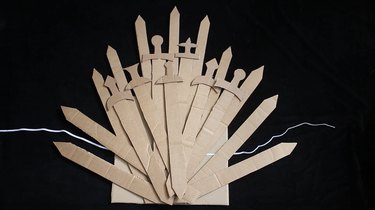
Arrange the spikes on top of the cardboard piece you cut for the chair back, fanning them out so they cover most of it. Reserve seven or eight spikes to make swords later on. Once you're happy with the arrangement, hot glue them in place. Trim off any excess length if the spikes protrude past the bottom of the cardboard.
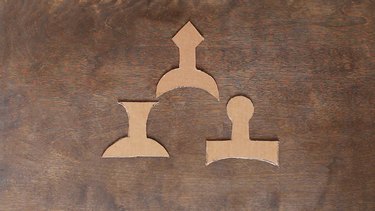
Step 6
Draw and cut out cardboard handles for the swords. For variety and visual interest, we made some of the handles round, some diamond-shaped, and some with a fleur-de-lis shape.
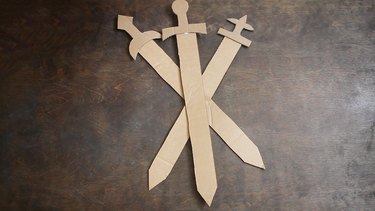
Step 7
Hot glue the handles onto the remaining spikes to create swords.
Step 8
Arrange the swords on top of the spikes, positioning them so that the handles are at the top in the spaces between the spikes. This will make them stand out more. Hot glue them in place.
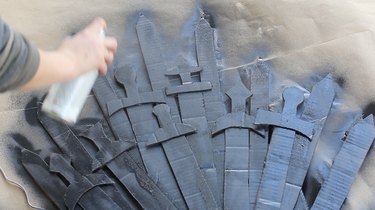
Step 9
Spray paint the entire throne with black spray paint. We used a black hammered spray paint to give the throne some texture.
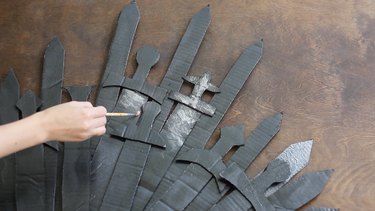
Step 10
Once the paint has completely dried, lightly dry brush silver craft paint onto the swords. You don't want to paint them completely. Just brush enough paint onto them so they stand out from the black iron spikes.
Step 11
To create the illusion of rust, lightly dry brush copper craft paint (sparingly) onto the spikes and swords. This will give the throne a nice weathered patina.
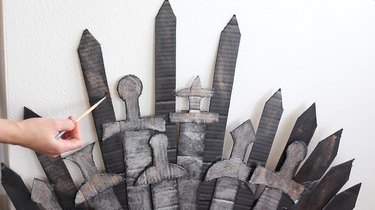
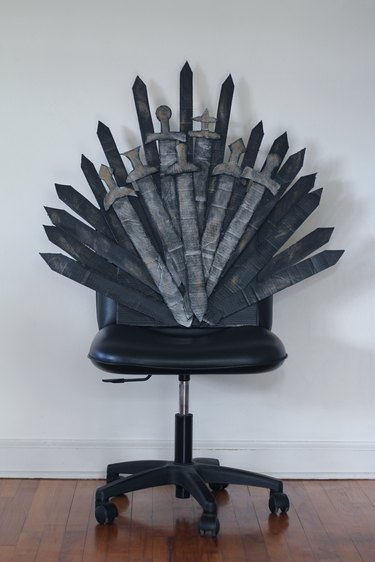
Now your throne is complete and you're ready to rule. Winter is coming!